
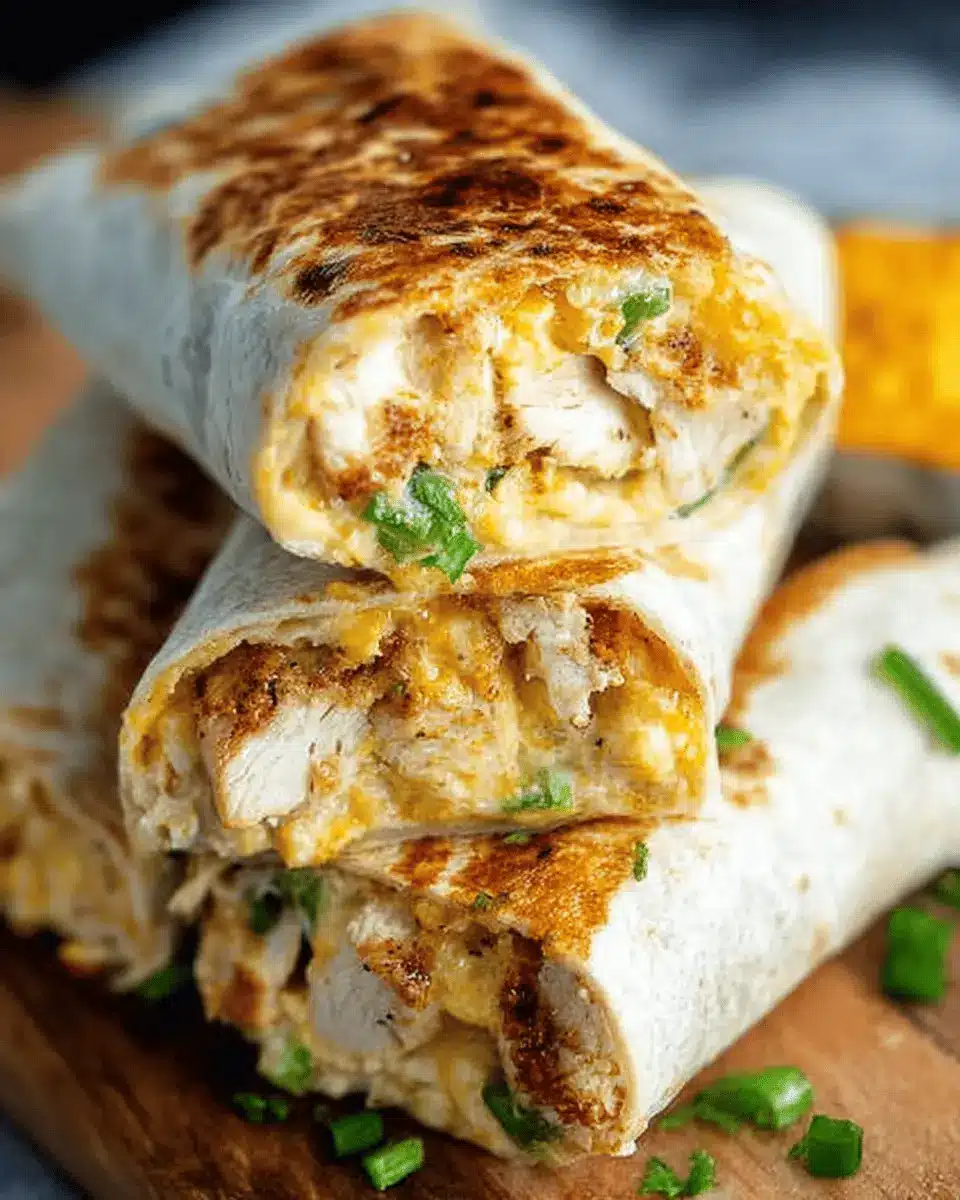
Introduction to Cheesy Garlic Chicken Wraps
When you're a young professional juggling a busy schedule, finding a meal that’s quick, nutritious, and incredibly satisfying is essential. Enter cheesy garlic chicken wraps! These wraps are a delicious game-changer, combining high-protein, flavor-packed fillings wrapped in a convenient tortilla. Perfect for lunch at the office or a speedy dinner at home, they cater to the demanding lifestyle without sacrificing taste or nutrition.
Why are these wraps so special? For starters, they’re bursting with flavors from garlic, cheese, and tender chicken, making each bite a mouthwatering experience. Plus, they are customizable—swap out ingredients based on what you have on hand, or add extra veggies for added nutrition. Prepare the filling ahead of time, and you can whip these together in about 15 minutes, giving you more time to relax or tackle that never-ending to-do list.
So how can a simple wrap transform your meal prep? Check out this resource on healthy meal planning for tips. Your busy lifestyle deserves it, and your taste buds will thank you! Get ready to dive into the full recipe for these irresistible cheesy garlic chicken wraps.
Ingredients for Cheesy Garlic Chicken Wraps
Essential Ingredients for Your Wraps
When creating those delightful cheesy garlic chicken wraps, starting with the right ingredients is key to achieving that gooey, mouth-watering experience. Here are the essentials you'll need:
- Tortillas: 2 large (choose regular or low-carb/high-protein options)
- Cooked Chicken: 7 oz (200 grams), chopped; rotisserie chicken works wonderfully here.
- Garlic: 2 cloves, minced or grated (adjust based on your love for garlic!).
- Light Mayonnaise: 2 tablespoons to bring a creamy texture.
- Greek Yogurt: 1 tablespoon adds a tangy touch.
- Hot Sauce: 2 teaspoons (Frank’s is a solid choice).
- Salt: Just a pinch (¼ teaspoon should do).
- Grated Cheese: 3 oz (90 grams); a cheddar blend is recommended.
- Green Onion: 1, chopped for a fresh crunch.
- Olive Oil Spray: For that perfect crispiness when pan-frying.
Optional Ingredients to Customize
Feel free to make these wraps your own! Consider adding:
- Veggies: Spinach, bell peppers, or sliced tomatoes for added nutrition and color.
- Meats: Turkey bacon or chicken ham for an extra protein boost.
- Seasoning: Cumin or paprika can enhance the flavor profile.
- Dips: Pair your wraps with salsa or guacamole for added deliciousness.
With these ingredients, whipping up your cheesy garlic chicken wraps not only becomes easier but also allows for customization tailored to your palate!
Preparing Cheesy Garlic Chicken Wraps
Making cheesy garlic chicken wraps is an exciting culinary adventure you can embark on with just a few simple steps! Not only are these wraps packed with flavor, but they also offer a great balance of protein and comfort. Let’s dive into the preparation process to get you one step closer to enjoying these delightful wraps!
Gather Your Ingredients
To start, make sure you have all the necessary ingredients on hand. Here’s what you’ll need:
- 2 large tortillas (you can choose regular or low-carb/high-protein)
- 7 oz of cooked chicken (about 200 grams), ideally chopped rotisserie chicken for convenience
- 2 garlic cloves, minced or grated (feel free to adjust according to your garlic love)
- 2 tablespoons of light mayonnaise
- 1 tablespoon of light Greek yogurt
- 2 teaspoons of hot sauce (I recommend Frank’s for the perfect kick)
- ¼ teaspoon of salt
- 3 oz of grated cheese (around 90 grams; a cheddar blend works wonders!)
- 1 green onion, chopped
- Olive oil spray for cooking
Having everything ready not only streamlines your cooking process but also enhances the overall experience of making these cheesy garlic chicken wraps.
Mix the Filling
In a medium-sized bowl, combine the chopped chicken, minced garlic, mayonnaise, Greek yogurt, hot sauce, and salt. Mix these ingredients thoroughly until they form a cohesive filling. The creaminess from the mayo and yogurt, combined with the spices and garlic, creates an irresistible flavor that you’ll be craving in no time. If you want to simplify your prep further, you can prepare this filling in advance—up to three days ahead, to be exact!
Assemble the Wraps
Now comes the fun part! Lay out your tortilla on a clean surface. On the lower third of the tortilla, sprinkle about 2 tablespoons of grated cheese. Next, add approximately ⅔ cup of the chicken mixture followed by another tablespoon of cheese and a sprinkle of chopped green onion for an added crunch and freshness. To wrap it up, fold in the sides of the tortilla and roll it tightly from the bottom. This keeps all the delicious filling snugly inside.
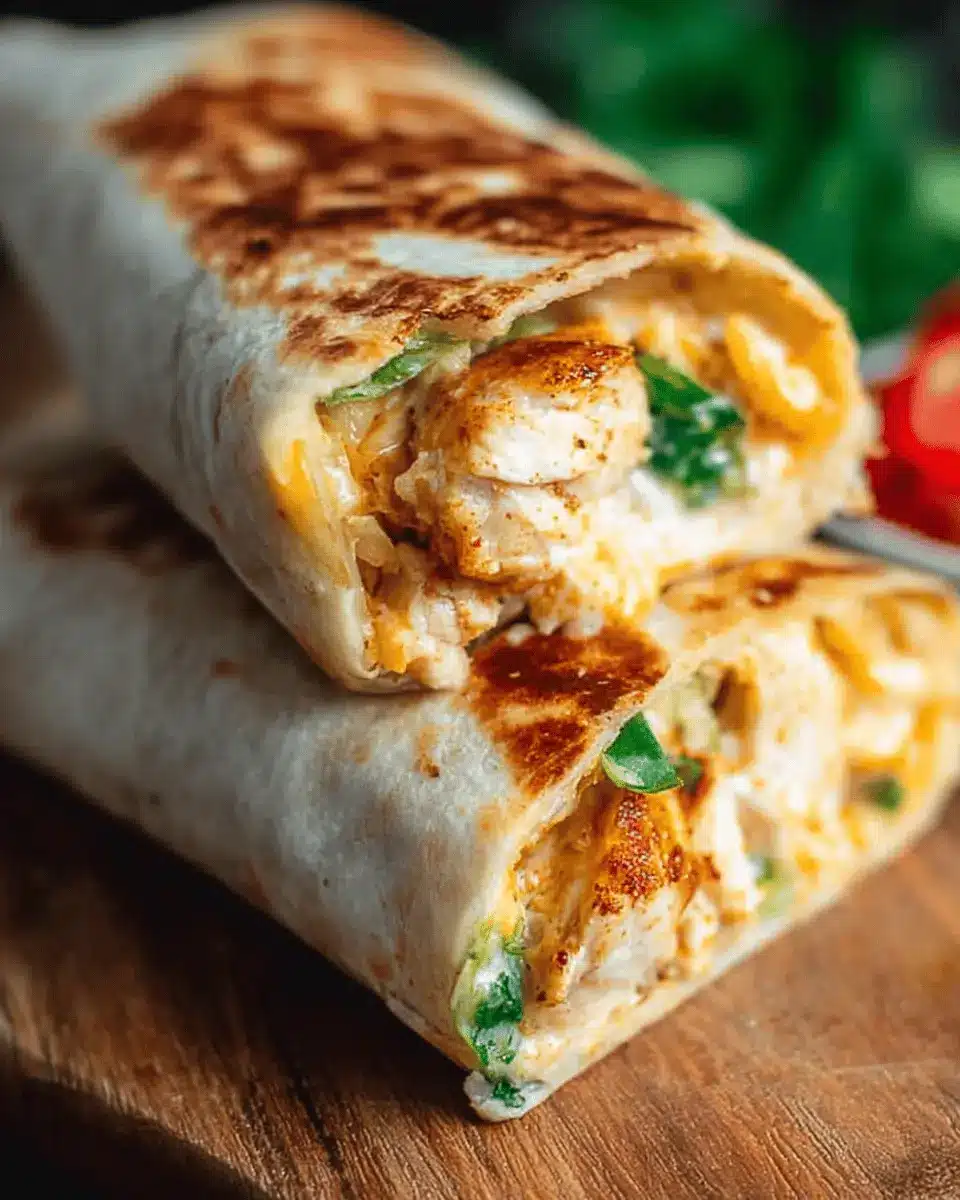
Cook to Perfection
Heat a non-stick pan over medium-high heat and give it a light spray with olive oil. Place your wraps seam-side down in the pan. Cook them for about 3-4 minutes on each side until they achieve a beautiful golden-brown crisp. To ensure the cheese melts perfectly and the filling heats up, consider covering the pan with a lid.
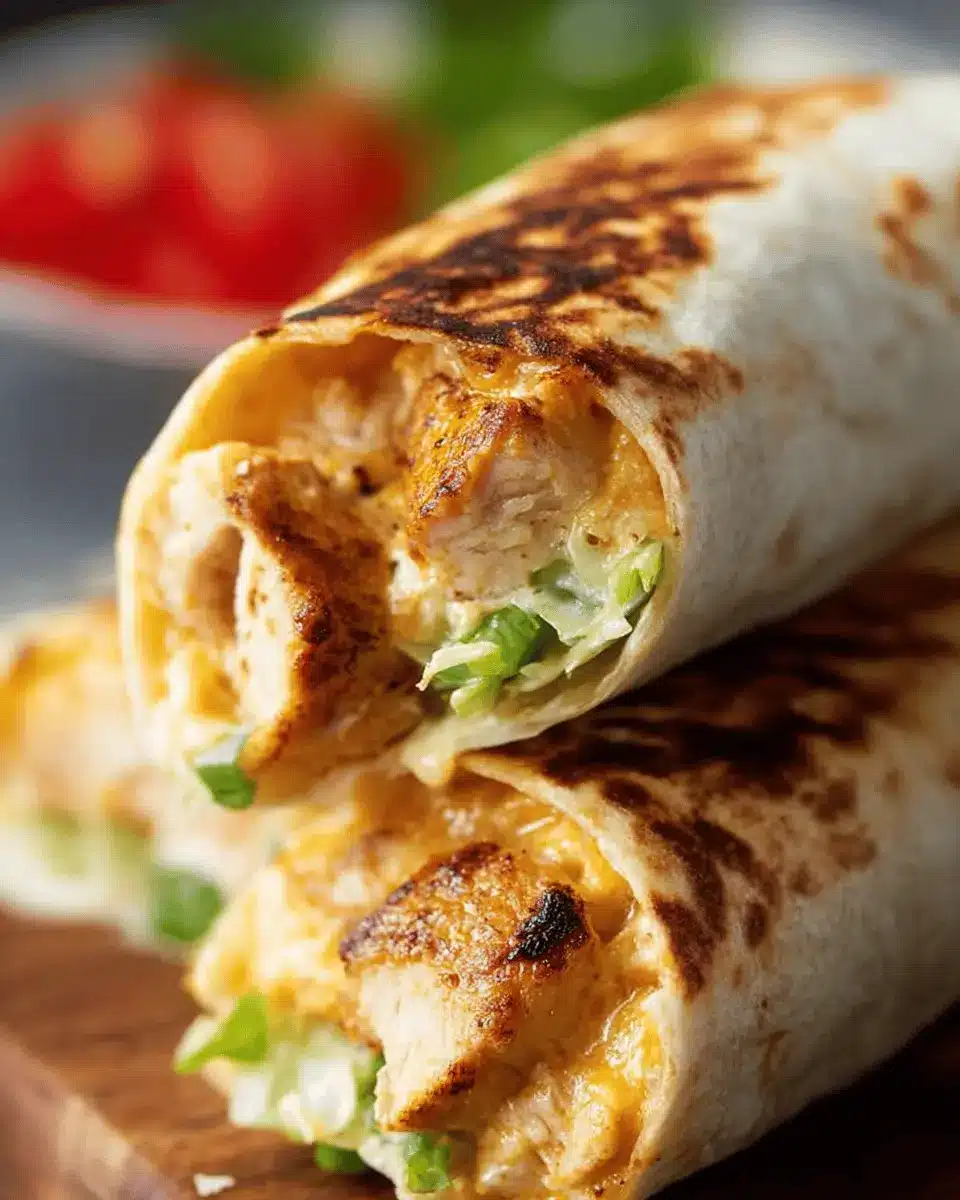
Serve and Enjoy!
Once your wraps are cooked to perfection, slice them in half and serve! These cheesy garlic chicken wraps are fantastic on their own or paired with a crisp salad, roasted veggies, or even a side of salsa for dipping. You may savor each bite, feeling grateful for the wholesome goodness you’ve just created in the kitchen. Happy wrapping!
For additional tips or to explore varying ingredients, check out this great guide on wraps.
Variations on Cheesy Garlic Chicken Wraps
Spinach and Feta Twist
For a deliciously healthy twist on your cheesy garlic chicken wraps, consider adding fresh spinach and crumbled feta cheese to your chicken mixture. This not only amps up the flavor but also adds a boost of nutrients. Simply mix a handful of chopped spinach and about 2 oz of feta into the filling—a creamy, savory addition that’s great any time of year. It’s like turning your wrap into a gourmet treat! For other leafy green options, try swapping in kale or arugula.
Spicy Jalapeño Version
If you crave a kick, turn your cheesy garlic chicken wraps into a spicy delight! Incorporate finely chopped jalapeños into the filling for an extra layer of heat. You can also experiment with different hot sauces or add a sprinkle of chili powder. To balance it out, serve your wraps with a side of cooling Greek yogurt dip or avocado. Your taste buds will thank you!
For more inspiration on variations, check out versatile guides on wrap fillings or explore spicy chicken recipes for even more ideas.
Cooking Tips and Notes for Cheesy Garlic Chicken Wraps
Make-Ahead and Storage Tips
Preparing your cheesy garlic chicken wraps can be super convenient! Make the chicken filling a few days in advance and store it in the refrigerator for up to 3 days. When you're ready to eat, just wrap it up and cook. For storage, cooked wraps can stay in the fridge for up to 2 days. To reheat, a skillet or air fryer works best to restore that delightful crispiness. You can also freeze the filling for up to a month—perfect for quick weeknight dinners!
Cooking Methods: Pan-Frying vs. Air Frying
While pan-frying creates that irresistible golden crunch, air frying is an excellent option for a lighter version. If using an air fryer, cook at 375°F (190°C) for about 6–8 minutes. Both methods yield delicious results, but pan-frying often gives that extra flavor boost—especially if you cover the pan to melt the cheese thoroughly. Want to explore further? Check out this resource on cooking methods for more tips!
Serving Suggestions for Cheesy Garlic Chicken Wraps
Side Salad Pairings
To complement your cheesy garlic chicken wraps, consider a bright, fresh salad to balance the rich flavors. A classic Caesar or a Greek salad with cucumbers, tomatoes, and olives works beautifully. Want something a bit more vibrant? Try a mixed greens salad topped with cherry tomatoes, avocados, and a zesty lemon vinaigrette for a refreshing contrast.
Dipping Sauce Ideas
Don't forget about the dips! Pair your wraps with a creamy ranch or a tangy salsa for a burst of flavor. If you’re feeling adventurous, whip up a garlic aioli—perfect for enhancing the already garlicky goodness of your cheesy garlic chicken wraps. For a spicy kick, a jalapeño relish can also elevate the dish. Enjoy!
Time Breakdown for Cheesy Garlic Chicken Wraps
Preparation Time
Getting your ingredients ready for these cheesy garlic chicken wraps is a breeze! You'll only need about 15 minutes to chop up the chicken, mince the garlic, and mix up all the flavorful fillings.
Cooking Time
Once your ingredients are prepped, it’s time to bring it all together. Cooking the wraps takes just 7 minutes on the stove, achieving that delightful golden crispiness we all crave.
Total Time
In under 22 minutes, you’ll have a satisfying, high-protein meal that’s perfect for either lunch or dinner. It’s quick enough for a busy weeknight yet deliciously comforting every time!
For tips on preparation and serving suggestions, be sure to check out the full recipe above. Happy cooking!
Nutritional Facts for Cheesy Garlic Chicken Wraps
Calories
Each serving of these cheesy garlic chicken wraps packs approximately 476 calories. This makes them a satisfying meal that won't leave you counting every single calorie. They strike a nice balance between indulgence and nutrition, perfect for a hearty lunch or dinner.
Protein Content
With about 38 grams of protein per serving, these wraps are not just tasty but also a fantastic source of essential nutrients. Thanks to the chicken and cheese, they can easily fuel your day, supporting muscle recovery and growth.
Sodium Information
It's worth noting that these wraps contain approximately 1,090 mg of sodium. While this can be relatively high, the flavor profile of the wraps makes them a delicious option occasionally. If you're watching your sodium intake, consider using lower-sodium options for the sauces or cheese.
For further reading on nutritional guidelines, check out resources like the American Heart Association.
FAQs about Cheesy Garlic Chicken Wraps
Can I use different proteins?
Absolutely! These cheesy garlic chicken wraps are super versatile. If you're looking for a change, turkey bacon, chicken ham, or even beef can substitute the chicken. You can also use shredded rotisserie chicken for extra flavor and convenience. Just remember to adjust cooking times based on the chosen protein.
How do I make these wraps healthier?
To lighten up your cheesy garlic chicken wraps, consider using a whole grain or low-carb tortilla. You can also reduce the amount of cheese and swap regular mayonnaise for a healthier option, like avocado or hummus. Adding extra veggies like spinach or bell peppers can boost nutrition without sacrificing taste.
Can I freeze the wraps?
While it's best not to freeze the finished wraps to maintain their crispiness, you can freeze the cheesy garlic chicken filling for up to a month. When you're ready to enjoy, just thaw and wrap in fresh tortillas, then cook as usual. Looking for more tips on meal prepping? Check out this guide for handy ideas!
Conclusion on Cheesy Garlic Chicken Wraps
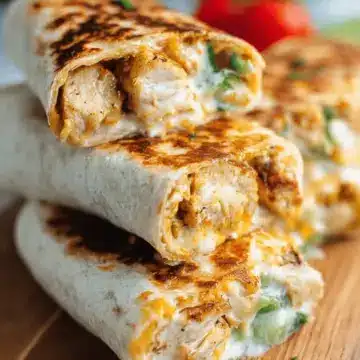
In conclusion, cheesy garlic chicken wraps are the ultimate comfort food, perfect for any quick meal. They’re packed with protein, bursting with flavor, and oh-so-easy to make! Enjoy experimenting with variations and tailor them to your taste for a satisfying lunch or dinner that never gets old.
Cheesy Garlic Chicken Wraps
Equipment
- non-stick pan
Ingredients
- 2 large tortillas regular or low-carb/high-protein
- 7 oz cooked chicken about 200 grams, chopped (rotisserie is great)
- 2 cloves garlic minced or grated (adjust to taste)
- 2 tablespoons light mayonnaise
- 1 tablespoon light Greek yogurt or plain yogurt
- 2 teaspoons hot sauce like Frank’s
- ¼ teaspoon salt
- 3 oz grated cheese about 90 grams (I used a cheddar blend)
- 1 green onion chopped
- Olive oil spray
Instructions
- In a bowl, mix chopped chicken, garlic, mayonnaise, yogurt, hot sauce, and salt.
- Lay out your wrap. On the lower third of the tortilla, sprinkle about 2 tablespoons of cheese, then top with about ⅔ cup of the chicken mixture. Add another tablespoon of cheese and a sprinkle of green onion.
- Fold in the sides of the tortilla, then roll it up tightly from the bottom.
- Heat a non-stick pan over medium-high. Spray with olive oil.
- Place wraps seam-side down. Cook for 3–4 minutes per side until crispy and golden. Cover with a lid to help heat the inside.
- Slice in half and serve!

Leave a Reply