
Introduction to Hanami Dango
What is Hanami Dango and Why is it Special?
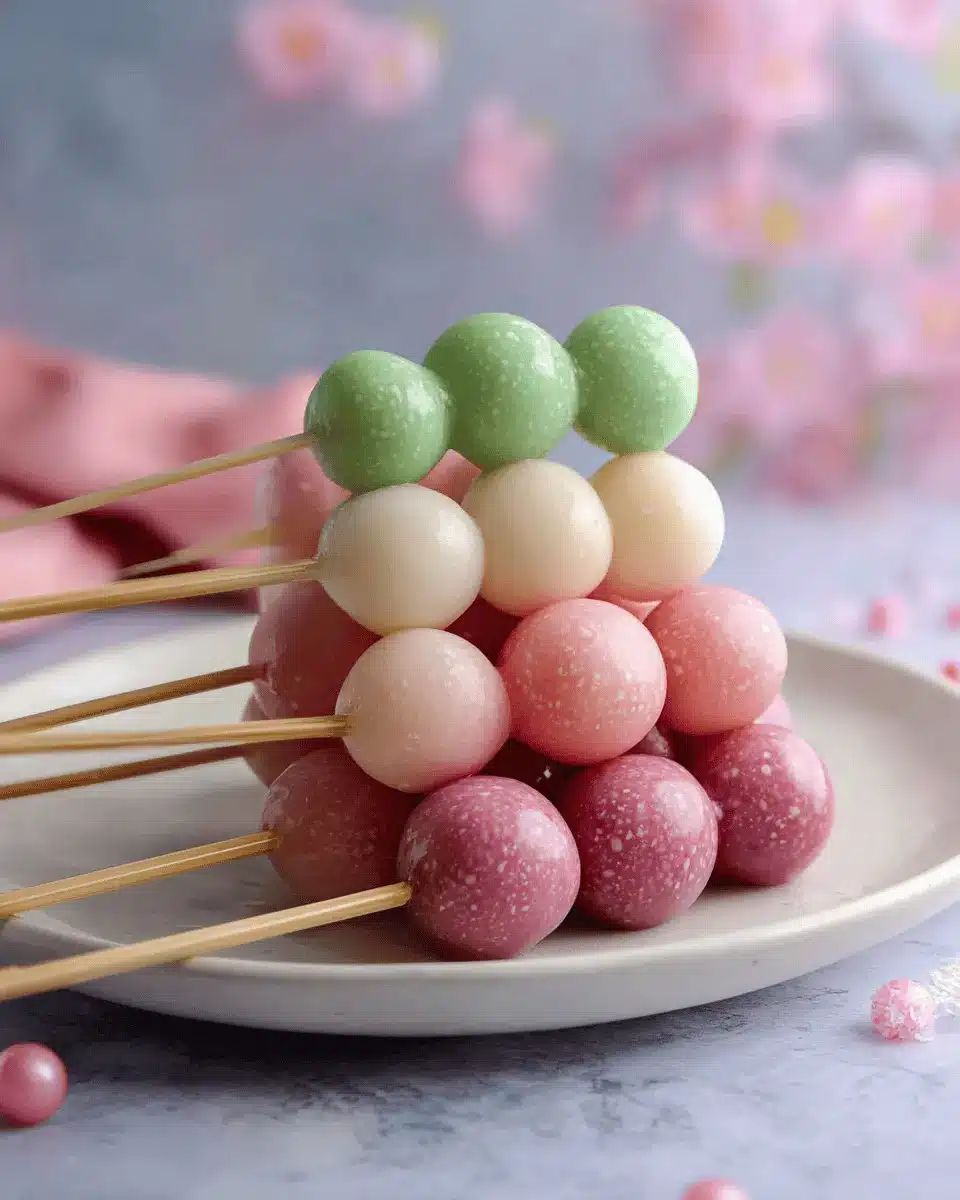
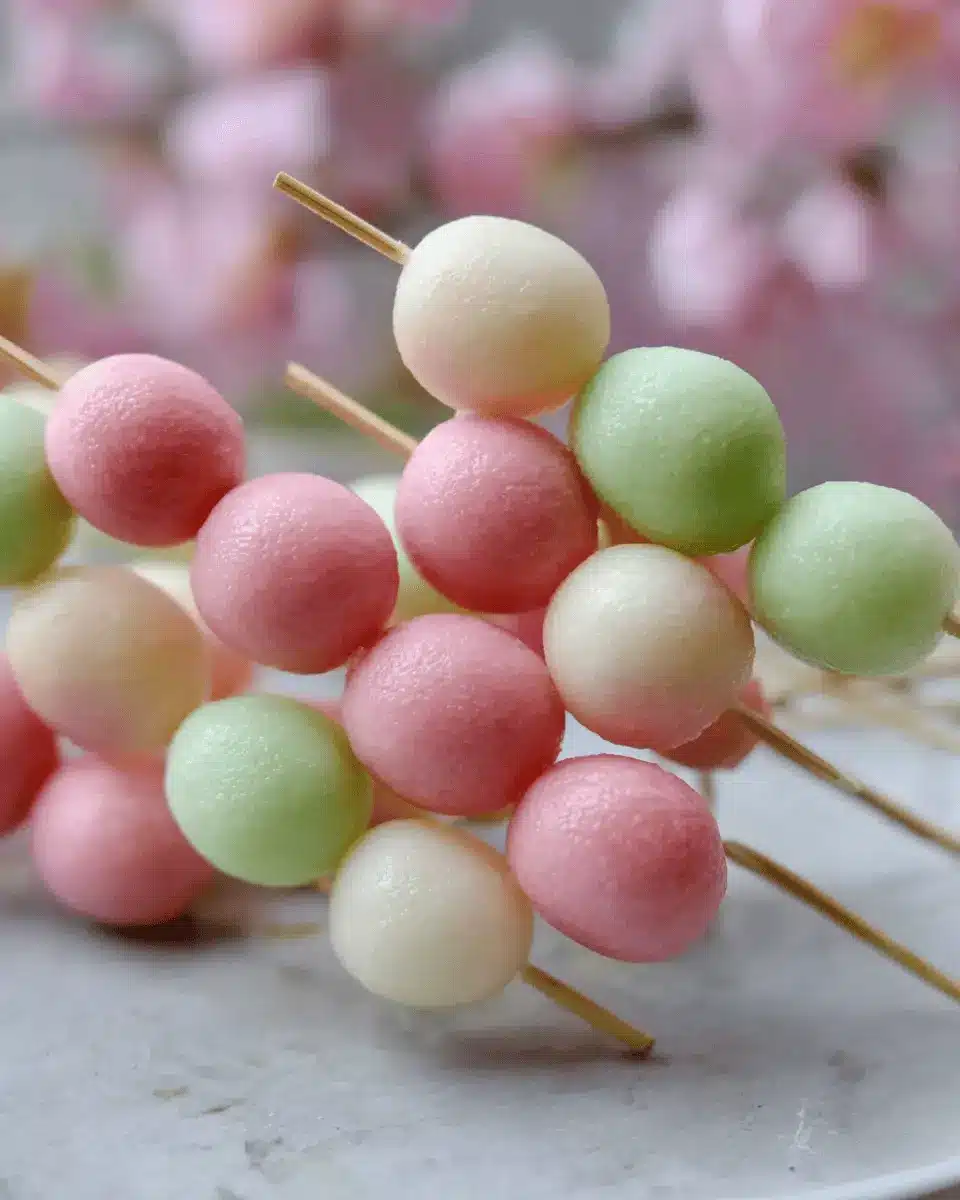
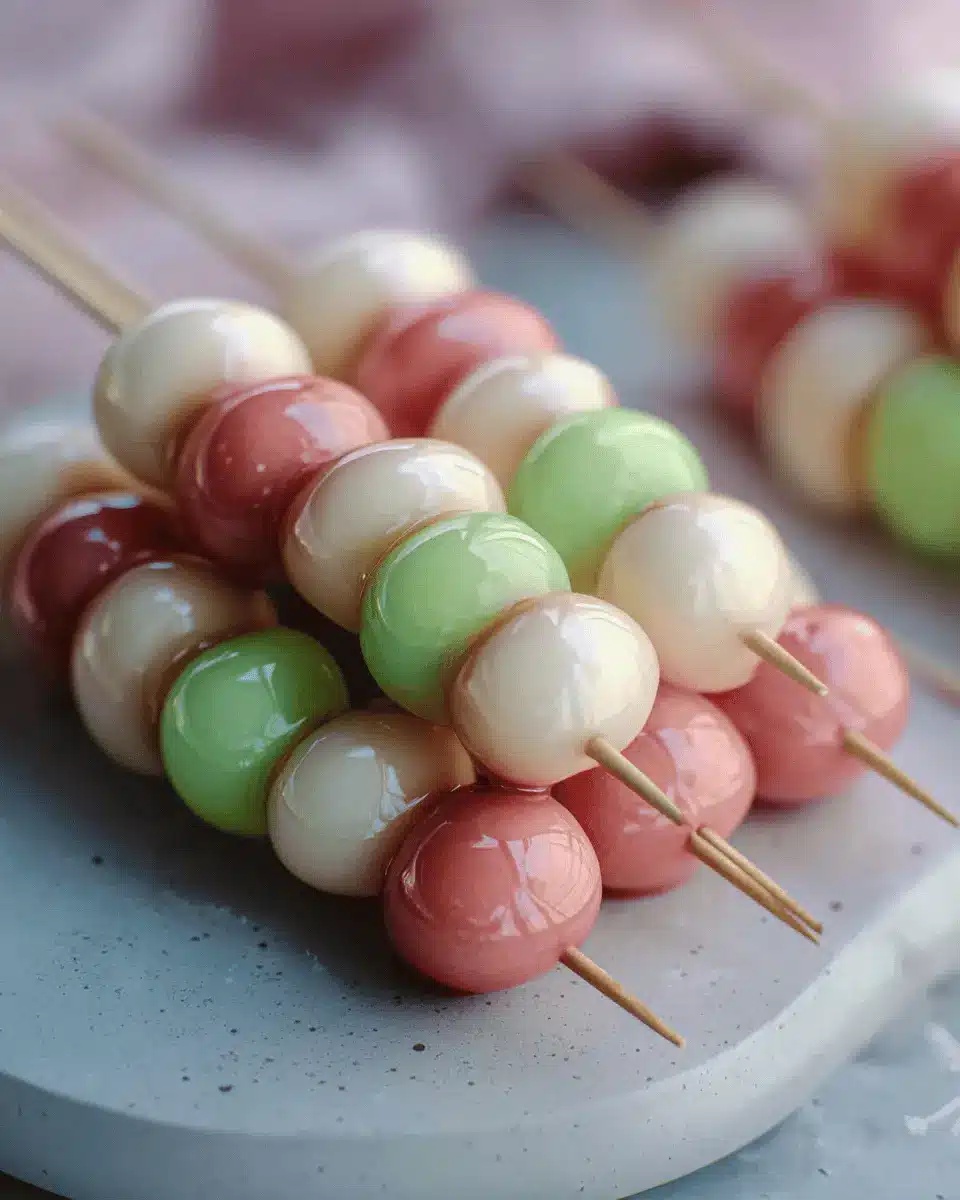
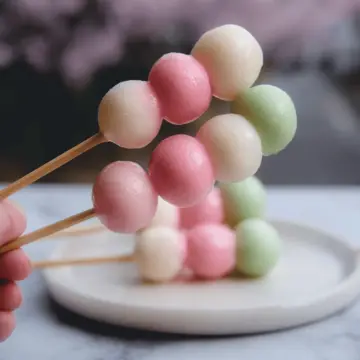
Hanami Dango is a delightful and colorful Japanese dessert that consists of chewy rice dumplings traditionally enjoyed during spring festivals, particularly during the cherry blossom season. This charming treat is often skewered on sticks, making it not only visually appealing but also perfect for picnics and outdoor gatherings. Each stick typically features three different colors: pink, white, and green.
What makes Hanami Dango stand out is both its texture and its cultural significance. The chewy rice balls are made from glutinous rice flour, which gives them their signature bounce and slightly sweet flavor. The colors symbolize different aspects of spring: pink represents cherry blossoms, the white symbolizes purity, and the green stands for new growth.
Enjoying Hanami Dango is about more than just the taste; it’s a way to savor the beauty of nature during the cherry blossom season, reminding us to appreciate the fleeting moments in life. If you want to learn more about Japanese desserts or explore Tokyo’s favorite sweet treats, check out the Japan National Tourism Organization here.
Now that you understand the charm behind Hanami Dango, let’s dive into the recipe and create this delightful dessert at home!
Ingredients for Hanami Dango
Essential Ingredients for Making Hanami Dango
Creating Hanami Dango is surprisingly simple, requiring just a handful of essential ingredients. You’ll need:
- ¾ cup + 1 tablespoon Shiratamako glutinous rice flour: This gives the dango its signature chewy texture.
- ½ cup Joshinko rice flour: This adds a delightful lightness to the mix.
- 5 tablespoons icing sugar: The perfect balance of sweetness without being overpowering!
- 10 tablespoons hot boiling water: A crucial component for bringing the dough together.
- Food coloring: Just a drop of red and green is needed, lending the dango its beautiful colors reminiscent of cherry blossoms.
Optional Additions for Flavor and Texture
While the traditional Hanami Dango is delicious on its own, feel free to enhance your creation with some optional additions:
- Matcha powder: For a lovely green hue and a hint of bitterness.
- Sweet red bean paste: A rich filling that adds depth and flavor.
- Sesame seeds or coconut flakes: For a delightful crunch!
These additions aren’t necessary but can elevate your Hanami Dango experience!
Step-by-Step Preparation of Hanami Dango
Making your own Hanami Dango might seem intimidating, but with this easy-to-follow guide, you'll be serving these delightful, chewy rice balls in no time! Let’s dive into the process.
Gather and measure the ingredients
Before we get our hands doughy, let’s make sure we have everything we need. For this recipe, you'll require:
- ¾ cup + 1 tablespoon Shiratamako glutinous rice flour
- ½ cup Joshinko rice flour
- 5 tablespoon icing sugar
- 10 tablespoon hot boiling water
- Red and green food coloring (just a drop each)
It’s a good idea to measure out your ingredients in advance. This not only simplifies the preparation but also ensures you won’t forget anything crucial!
Prepare the dough mixture
Now that you’ve got your ingredients in order, let’s mix them up! In a large mixing bowl, whisk together the glutinous rice flour, Joshinko rice flour, and icing sugar. Gradually add the hot boiling water to this blend. It might look clumpy at first; that’s completely normal! Start kneading until you form a cohesive ball of dough. It may feel a bit tacky at the beginning, but don’t worry—this will come together beautifully.
Color the dough for a festive look
To bring some cheer to your Hanami Dango, it's time to introduce some color! Divide your dough into three equal portions.
- In one bowl, add a drop of red food coloring.
- In the second, add a drop of green.
The third bowl will remain white. Mix thoroughly until each portion reaches the desired color, creating a gorgeous trio that reflects the traditional hues of Hanami!
Shape the dango balls
Once the dough is beautifully colored, roll each portion into a thick log, about one inch in diameter. Cut each log into six equal pieces, then roll each piece into a small ball. By the end of this step, you should have a total of 18 charming little balls, ready for cooking.
Cook the dango to perfection
Next, it’s cooking time! Bring a medium-sized pot of water to a boil. Once it’s bubbling, reduce to medium-high heat and gently drop in your Hanami Dango balls. Make sure to stir occasionally to prevent them from sticking to the bottom. After about 7-8 minutes, the balls will float to the top, and this is your cue that they are done. Use a slotted spoon to remove them, then dunk them into an ice bath to halt the cooking process.
Skewer and present your dango
For the final touch, take one of each color and skewer them onto wooden sticks, starting with the green, followed by white, and finishing with pink. This arrangement not only looks beautiful but also adds a fun element to serving. Enjoy your Hanami Dango warm or at room temperature—trust us, they will be a hit!
Making these delightful treats can be a wonderful way to celebrate the cherry blossom season or simply enjoy a unique dessert. So why not give it a try? You're now ready to make beautiful Hanami Dango!
Variations of Hanami Dango
Flavored Hanami Dango Variations
While traditional Hanami Dango is delightful in its simple sweetness, adding flavors can elevate this treat to new heights. Consider incorporating ingredients like matcha for a subtle green tea taste, or replacing some of the icing sugar with fruit puree for a fruity twist. Going a step further, you could experiment with flavors like sweetened red bean paste or even taro for a colorful and tasty variation!
Seasonal or Festive Versions
Hanami Dango can also be adapted for various seasons and festivities. For example, during cherry blossom season, using pastel colors in pink, white, and green is traditional. Alternatively, during Halloween, you can create an eerie version by using charcoal powder for a spooky effect! The beauty of Hanami Dango is its versatility, allowing you to personalize it for any occasion, making it a fun project for family or friends. If you're looking for inspiration, check out this resource on Japanese festivals to get more ideas.
Cooking Tips and Notes for Hanami Dango
Common Mistakes to Avoid
When making Hanami Dango, keep an eye on the consistency of the dough. Too much water can make it overly sticky, while too little can result in dry, crumbly balls. Always knead until smooth, and don’t forget to boil them long enough until they float! This indicates they’re cooked through.
Storage Recommendations
Hanami Dango is best enjoyed fresh, but if you have leftovers, store them in an airtight container in the fridge for 3-4 days. Want to reheat? Simply re-boil the skewers in hot water for a few minutes. As a tip, avoid freezing them, as this can change their delightful texture.
For more tips on Japanese desserts, check out this guide!
Serving Suggestions for Hanami Dango
How to serve Hanami Dango for gatherings
When you're hosting a gathering, Hanami Dango on skewers makes for an eye-catching and delightful centerpiece. Arrange the colorful skewers on a decorative platter or in a vase to create a festive display. Consider serving them alongside Japanese sweets like mochi or dorayaki for a themed dessert table. Guests can enjoy these chewy treats while celebrating the beauty of spring!
Pairing suggestions with beverages
To elevate your Hanami Dango experience, consider pairing them with refreshing beverages. Green tea offers a subtle contrast to the sweetness, while matcha lemonade brings a zesty twist. If you’re in the mood for something cooler, try serving them with a sparkling water infused with citrus or cucumber. These pairings enhance the flavors and make for a satisfying, well-rounded treat!
Time Breakdown for Hanami Dango
Preparation time
Get your ingredients and tools ready in just 20 minutes. This includes mixing the flours and dough, so don’t worry—it’s quicker than you think!
Cooking time
The cooking part is a breeze, taking only about 10 minutes. You'll boil those beautifully colored rice balls until they float to the top.
Total time
All in all, you’re looking at a total of 30 minutes from start to finish! In no time, you’ll have delicious Hanami Dango ready to enjoy.
Feeling inspired? Dive deeper into the experience with our full recipe and make your own delightful Hanami Dango. Enjoy the colorful treat and introduce your friends to this wonderful Japanese tradition!
Nutritional Facts for Hanami Dango
Calories
Each serving of Hanami Dango contains approximately 182 calories, making it a delightful yet light dessert option for those mindful of their caloric intake.
Carbohydrates
With around 41 grams of carbohydrates per serving, these chewy rice balls can provide a quick energy boost, perfect for a snack during your busy day.
Sugar Content
The sugar content in Hanami Dango is about 9 grams per serving. This subtle sweetness makes it a nutritious alternative to many sugary treats, giving you a taste of indulgence without the guilt.
For more insights on the nutritional benefits of similar treats, consider visiting Healthline.
FAQs on Hanami Dango
What ingredients can I substitute for Hanami Dango?
You can experiment with various flours if you can't find shiratamako or joshinko rice flour. Sweet rice flour (also known as glutinous rice flour) can work in place of shiratamako. For the joshinko, regular rice flour might suffice, although the texture may differ slightly. If you're looking for an alternative to food coloring, consider natural options like beet juice for red and matcha for green.
How do I store leftovers?
Hanami Dango is best enjoyed fresh, but if you have leftovers, store them in an airtight container in the fridge for up to 3-4 days. When you’re ready to eat them, you can reheat them in boiling water for a warm treat.
Can Hanami Dango be made in advance?
Yes, you can prepare the dough a few hours before serving. Just keep it covered to prevent it from drying out. However, for the best flavor and texture, I recommend cooking them closer to when you plan to enjoy them. This way, you'll savor the delightful chewiness right off the skewer!
Conclusion on Hanami Dango
Hanami Dango is not just a treat; it's a delightful experience of Japanese culture right in your kitchen. These chewy rice balls are simple to make and perfect for sharing with friends or enjoying yourself. So gather your ingredients, and bring a bit of Japan to your dessert table!
Hanami Dango
Equipment
- wooden skewers
- Mixing bowl
- Measuring Set
- whisk
- Santoku Knife
- cutting board
- Large Pot 5 Qt
- Kitchen Scale
Ingredients
Rice Flours
- ¾ cup Shiratamako glutinous rice flour
- ½ cup Joshinko rice flour
- 5 tablespoon icing sugar aka confectioner's sugar or powdered sugar
- 10 tablespoon hot boiling water
- 1 drop red food coloring
- 1 drop green food coloring
Instructions
Preparation
- In a large mixing bowl, whisk together glutinous rice flour, rice flour, icing sugar. Add hot boiling water to the dry ingredients and whisk until combined. The mixture may look clumpy.
- Knead the mixture until it forms a ball of dough. It may start tacky but will dry out as you knead.
- Dust a clean surface with glutinous rice flour, transfer the dough, and knead until smooth.
- Roll the dough into a thick log, about 4 inches wide and 9 inches long, then slice into 3 equal portions.
- Divide the portions into 3 separate bowls. Add red food coloring to one bowl, green to another, and leave the last bowl white.
- Roll each piece into 1 inch thick logs, cut each log into 6 pieces, then roll each piece into a small ball for a total of 18 balls.
- Bring a medium pot of water to boil, reduce to medium-high heat. Roll each ball briefly before lowering them into the pot and stir occasionally to avoid sticking.
- Boil for 7-8 minutes until they float and are cooked inside. Remove with a slotted spoon and transfer to an ice bath.
- Once cooled, skewer one of each color (green, white, pink) onto sticks for a total of 3 balls per skewer. Enjoy warm or at room temperature.

Leave a Reply