
Introduction to Danish Butter Cookies
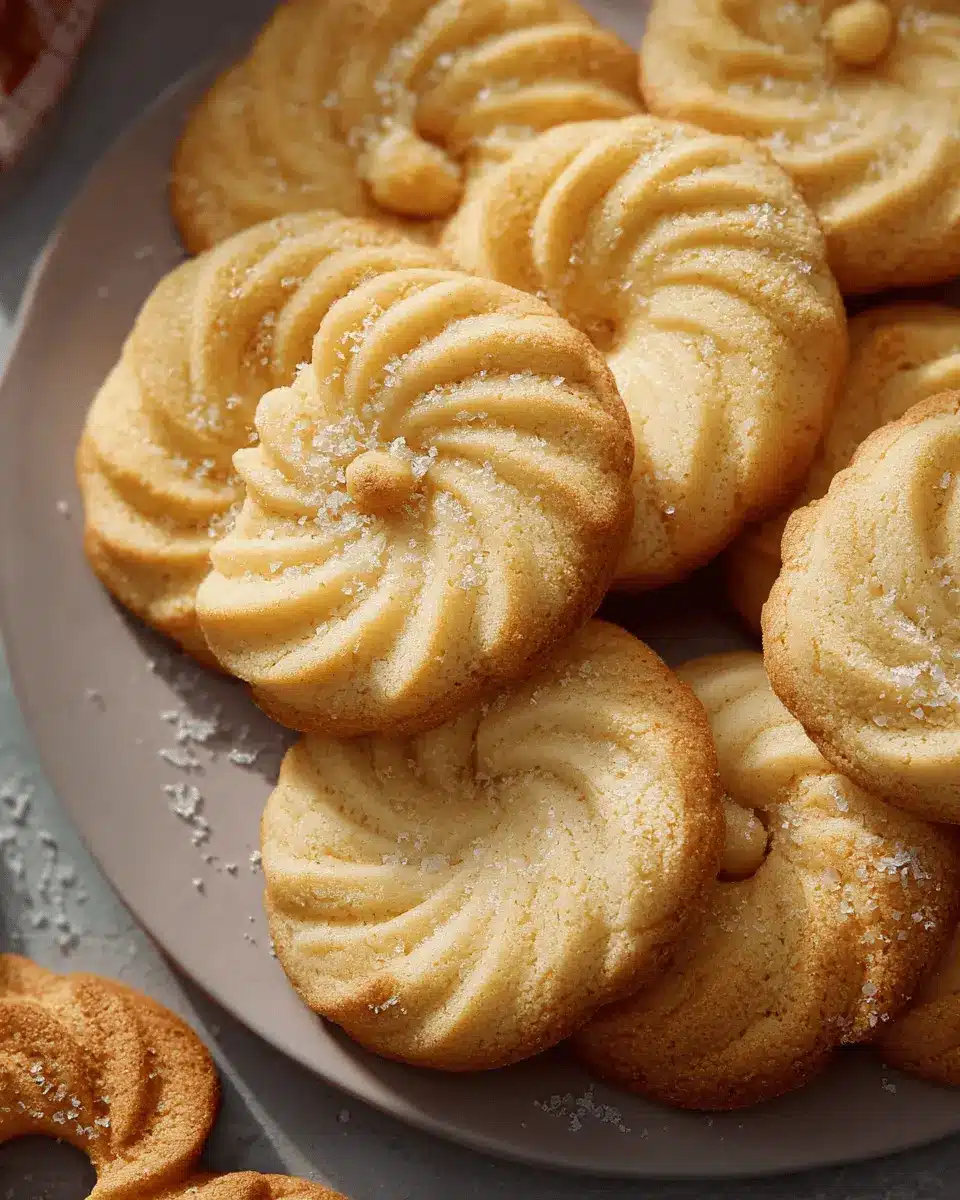
Danish butter cookies are more than just treats; they hold a special place in our hearts and memories. Whether you associate them with family gatherings during the holiday season or cozy evenings with a cup of tea, these cookies evoke feelings of warmth and nostalgia. Their rich, buttery flavor and delightful texture make them a favorite for all ages.
What Makes Danish Butter Cookies a Must-Bake?
So, what is it about Danish butter cookies that makes them a must-bake? For starters, their simplicity is key. A handful of quality ingredients—like European salted butter and vanilla extract—come together to create a cookie that’s both decadent and light. Their melt-in-your-mouth quality sets them apart from ordinary cookies, making each bite a luxurious experience.
Their versatility also adds to their charm. You can shape them into beautiful rosettes, pretzels, or classic circles, allowing for creativity in presentation. Plus, they make for wonderful gifts! A beautifully packaged box of these cookies will surely delight friends and family alike.
Looking for tips on how to perfect your Danish butter cookies? Keep reading as we dive deeper into the recipe essentials and baking techniques that will help you create the ultimate batch of cookies. For more baking inspiration, check out this resource on cookie-making fundamentals.
Ingredients for Danish Butter Cookies
Creating the perfect Danish Butter Cookies starts with high-quality ingredients that contribute to their delightful flavor and melt-in-your-mouth texture. Here's what you'll need to gather for this delicious treat:
-
1 cup (227 g) European salted butter: The star of the show! Make sure it's at room temperature to ensure a smooth mix.
-
½ cup (100 g) granulated sugar: Sweetness is key. Granulated sugar offers the right balance for the richness of the butter.
-
⅛ teaspoon salt: Just a pinch enhances flavor, especially in sweet treats.
-
2 egg yolks: They add richness and help create a tender cookie.
-
2 teaspoons (10 g) vanilla extract: This brings warmth and depth to the cookies.
-
1 tablespoon (15 g) whole milk: Just a splash can help achieve the right consistency.
-
2 cups (220 g) all-purpose flour: The foundation of your cookies.
-
½ cup (50 g) cake flour: This adds a subtle tenderness and lightness.
-
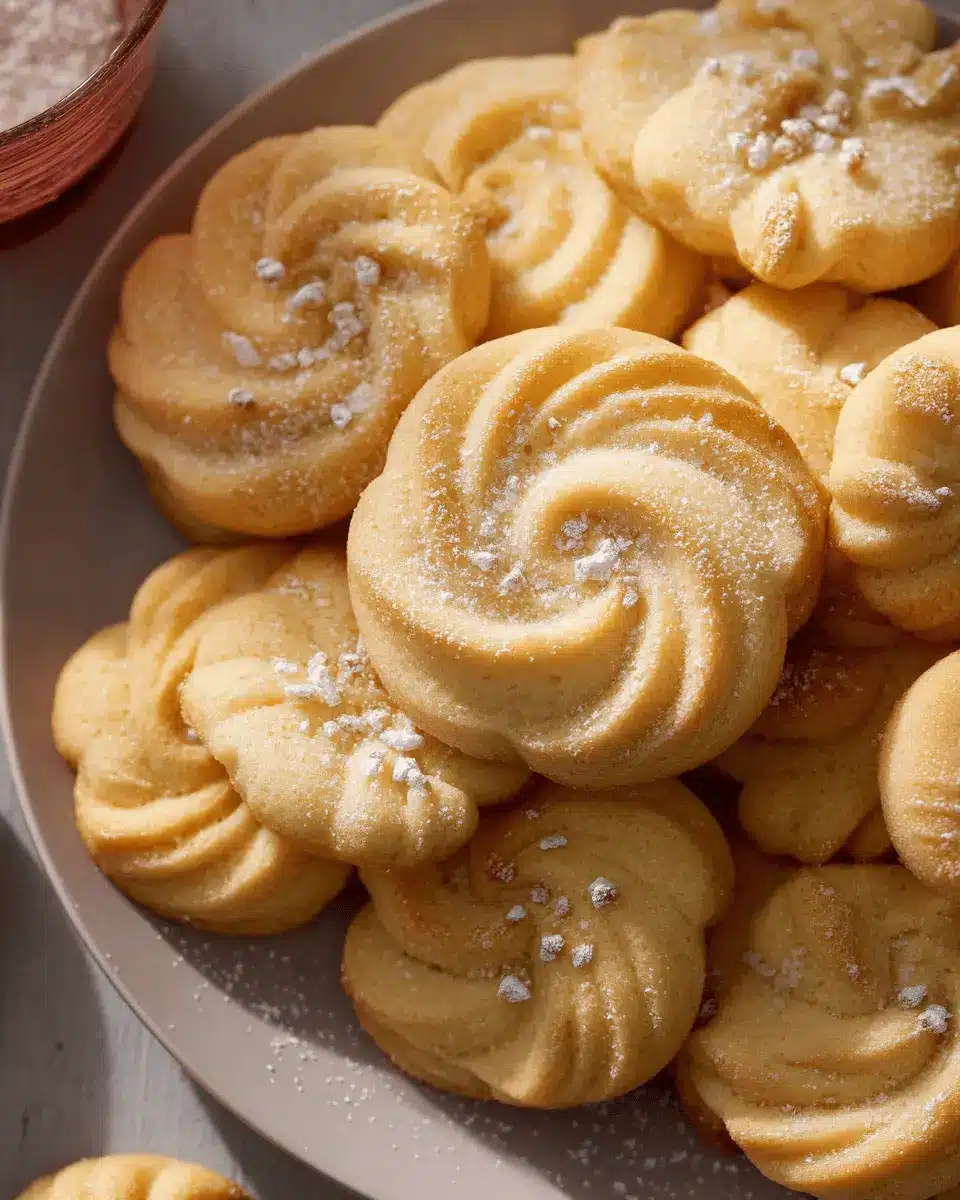
Coarse sugar for decorating: A sprinkle on top gives the cookies that festive touch.
With these simple yet essential ingredients, you’re on your way to baking cookies that not only taste amazing but also evoke sweet memories of holidays and gatherings. For more details on selecting the best ingredients, check out this guide on baking essentials. Happy baking!
Preparing Danish Butter Cookies
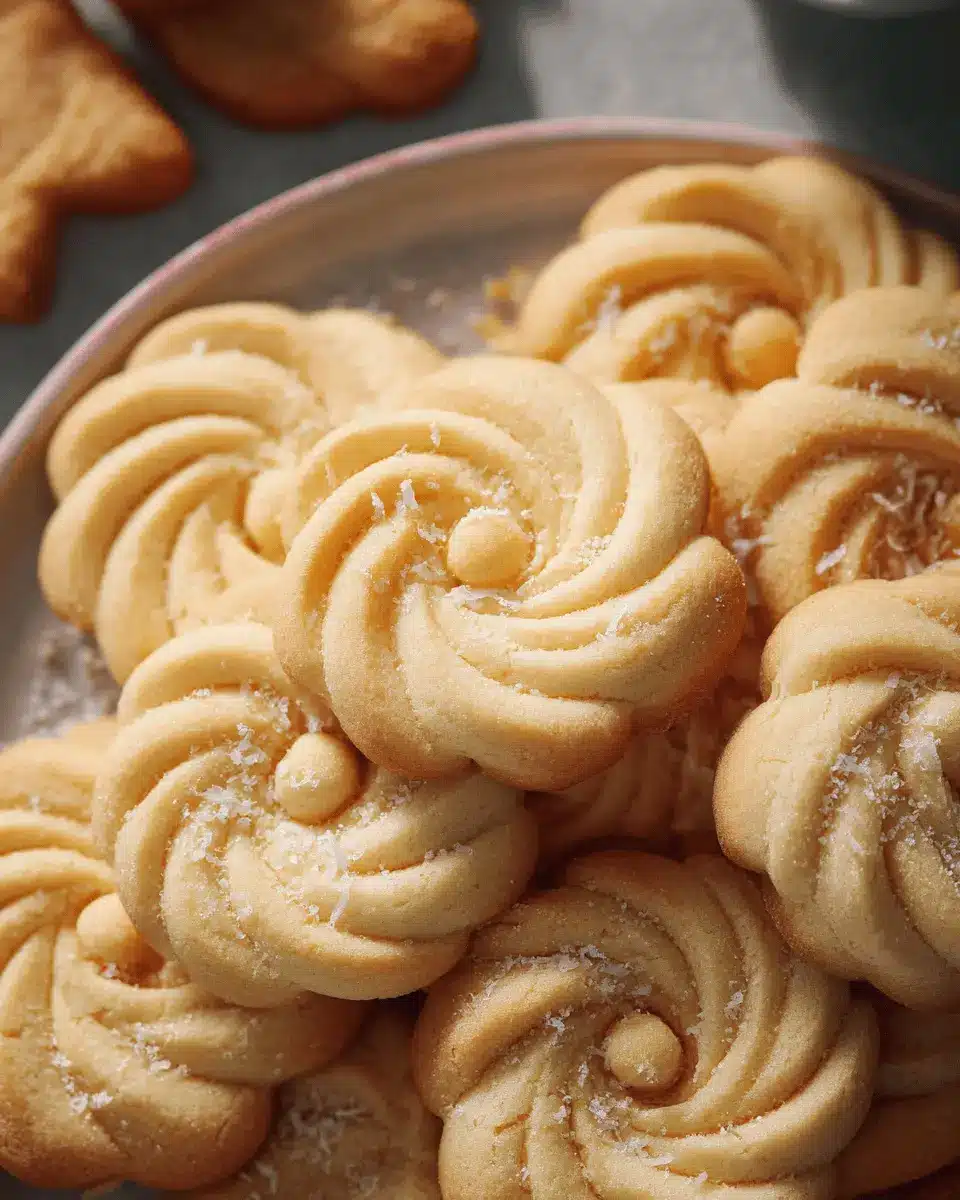
Danish Butter Cookies are not just a treat; they're a warm hug of nostalgia wrapped in buttery goodness. With their melt-in-your-mouth texture, these cookies are ideal for sharing, especially around the holidays. Let’s get you prepped to whip up a batch!
Gather your ingredients
First things first, let’s make sure you have everything ready before diving in. Here's what you'll need:
- 1 cup (227 g) European salted butter, at room temperature
- ½ cup (100 g) granulated sugar
- ⅛ teaspoon salt
- 2 egg yolks
- 2 teaspoons (10 g) vanilla extract
- 1 tablespoon (15 g) whole milk (with extra as needed)
- 2 cups (220 g) all-purpose flour
- ½ cup (50 g) cake flour
- Coarse sugar for decorating
Having your ingredients at room temperature, especially the butter and eggs, is crucial for achieving that perfect texture. It’s a simple tip that makes a big difference! For a deeper understanding of how ingredient temperature affects your bake, check out this guide on ingredient temperatures.
Cream the butter, sugar, and salt
In a stand mixer fitted with a paddle attachment, cream the softened butter on medium speed until smooth. Gradually add in the granulated sugar and salt. Keep mixing until the mixture becomes light and fluffy—this can take a few minutes, so be patient! The creaming process is vital for incorporating air into the dough, promoting a lighter cookie.
Add egg yolks, vanilla, and milk
Now it’s time to add the egg yolks, vanilla extract, and milk to the creamed butter mixture. Continue mixing on medium speed until everything is well combined. Don’t forget to scrape down the sides of the bowl for an even mix—no one likes a rogue chunk of butter!
Mix in the dry ingredients
In a separate bowl, whisk together the all-purpose flour and cake flour. Gradually add this mixture to the wet ingredients in the stand mixer, mixing at low speed. Be careful not to over-mix your dough, as this can lead to denser cookies. If your batter feels too stiff to pipe, a splash more milk can help soften it.
Pipe and shape the cookies
Now comes the fun part! Transfer your cookie dough into a piping bag fitted with a ½-inch open star tip. With a steady hand, pipe 2-inch rounds (or any shape you fancy) onto your prepared baking sheet, spacing them about 2 inches apart. Feel free to get creative with shapes—Danish Butter Cookies are all about that decorative flair! Before placing them in the fridge, consider sprinkles or coarse sugar for some added festive charm.
Chill before baking
To ensure your cookies hold their shape while baking, chill the piped cookies in the refrigerator for 20-30 minutes. This step is essential, as it will prevent them from over-spreading in the oven.
Bake to perfection
Finally, preheat your oven to 350°F (175°C) and set the baking rack in the middle. Bake your chilled cookies for about 10-15 minutes, or until the edges are just lightly golden brown. Allow them to cool on the baking sheet for about 5 minutes before transferring them to a wire rack to cool completely. This is the moment you’ve been waiting for—the aroma of freshly baked cookies filling your kitchen!
By following these steps, you’ll have delightful Danish Butter Cookies that are perfect for any occasion. Happy baking!
Variations on Danish Butter Cookies
Almond Danish Butter Cookies
For a delightful twist on traditional Danish Butter Cookies, try incorporating almond flour or extract into your dough. The nutty flavor elevates the sweetness, adding a lovely depth to the cookies. Simply replace a quarter of the all-purpose flour with almond flour, or add a teaspoon of almond extract alongside the vanilla. The result? Cookies that melt in your mouth while offering a deliciously unique taste that’s sure to impress.
Chocolate-Dipped Danish Butter Cookies
Who doesn’t love a little chocolate in their life? After baking your Danish Butter Cookies, dip half of each cookie into melted dark or milk chocolate. Allow them to set on parchment paper. This variation not only adds an indulgent touch but also creates an eye-catching presentation perfect for holiday gifting or special occasions. For an extra flair, sprinkle with crushed nuts or sea salt before the chocolate hardens!
By exploring these variations, you'll find new favorites that will charm your friends and family.
Baking Notes for Danish Butter Cookies
Creating the perfect Danish Butter Cookies is simpler than you think! Here are some friendly tips to ensure your cookies are a delightful success:
- Creaming Technique: Make sure to cream your butter and sugar until light and fluffy; this will help achieve that melt-in-your-mouth texture.
- Chill Time: Don’t skip chilling the piped cookies. It prevents spreading during baking and helps maintain their beautiful shapes.
- Watch the Oven: Remember that baking times can vary based on cookie size and shape — keep a close eye on them. Lightly golden edges are your cue!
- Storage Tips: Keep these cookies fresh by storing them in an airtight container. Did you know they can last up to five days at room temperature? For long-term storage, consider freezing them!
For more tips on perfecting your baking skills, check out this baking guide. Happy baking!
Serving Suggestions for Danish Butter Cookies
Danish Butter Cookies are delightful on their own, but serving them creatively can elevate your experience. Here are some tasty ideas:
-
Tea and Coffee Pairing: Enjoy these melt-in-your-mouth cookies alongside your favorite tea or coffee. The rich buttery flavor complements the warmth of a good brew beautifully. For a special touch, try adding a sprinkle of cinnamon to your drink.
-
Holiday Platter: Arrange your Danish Butter Cookies on a festive platter. Mix in some chocolate-covered treats or seasonal fruits like mandarins to create visual appeal.
-
Ice Cream Sundae: Crumble a cookie on top of your ice cream sundae for an unexpected crunch that perfectly contrasts the creamy texture.
-
Gift Giving: Package them in decorative tins with personalized notes for friends and family. These cookies are perfect for holidays and birthdays alike!
For more serving ideas, check out this article on dessert pairings that offers great suggestions!
Tips for Making Perfect Danish Butter Cookies
Creating Danish Butter Cookies that melt in your mouth is easier than you might think! Here are a few tips to ensure your cookies turn out perfectly every time:
-
Room Temperature Ingredients: Let your butter and eggs sit at room temperature to blend smoothly. This ensures a light, airy cookie texture.
-
Chill Your Cookies: Don’t skip chilling the piped cookie dough! It prevents spreading and helps maintain that lovely shape.
-
Watch the Bake: Keep a close eye on your cookies as they bake. Perfectly baked cookies have just the slightest golden edges.
-
Mix Gently: Avoid overmixing the dough after adding the flour. This keeps your cookies tender and delightful.
Check out this guide for more baking advice!
Time Details for Danish Butter Cookies
Preparation Time
Making these delightful Danish Butter Cookies will take about 15 minutes of your time. This includes gathering your ingredients and whipping up the buttery dough.
Baking Time
Once your cookies are formed, you’ll need to bake them for 10-15 minutes. Keep a close eye on them as you want those edges to be just golden!
Total Time
From start to finish, allow around 1 hour and 30 minutes. This includes chilling time, which is essential for achieving that melt-in-your-mouth texture.
For more baking insights, check out this guide. Happy baking!
Nutritional Information for Danish Butter Cookies
When indulging in delightful Danish butter cookies, it's helpful to understand their nutritional profile. Each cookie packs about 374 calories. If you're watching your protein intake, these treats provide 11 grams per serving. Even so, be mindful of the 178 mg of sodium if you're watching your salt intake.
Calories
- Each cookie contains approximately 374 calories. This decadent treat is perfect for special occasions but should be enjoyed in moderation, especially if you're counting calories.
Protein
- The Danish butter cookies offer about 11 grams of protein per serving. While not a primary source of protein, this amount can contribute to your daily intake, especially when paired with other nutritious foods.
Sodium
- Coming in at around 178 mg of sodium, these cookies are on the higher side compared to other desserts. If you're trying to limit your sodium for health reasons, consider enjoying them occasionally or balancing your diet with less salty foods.
If you're interested in more detailed nutritional information, sites like USDA FoodData Central can provide extensive data on various ingredients. Remember, indulging in these melt-in-your-mouth cookies is about enjoying life's little pleasures—so treat yourself responsibly!
FAQs about Danish Butter Cookies
What’s the secret to the perfect texture?
To achieve the ideal melt-in-your-mouth texture, it's essential to use room temperature butter. This allows the butter to cream properly with sugar, creating a light, airy dough. Incorporating both all-purpose and cake flour balances the cookie's softness and crispiness. Remember, don’t over-mix! Gentle folding of the ingredients prevents gluten development, which can lead to tough cookies.
How do I store Danish butter cookies?
For optimal freshness, store your Danish butter cookies in an airtight container at room temperature for up to five days. If you want to keep them longer, consider freezing. Just ensure they're in a sealed container, and they'll stay fresh for about three months. For more tips on cookie storage, check out this guide.
Can I freeze the dough?
Absolutely! Danish butter cookie dough can be frozen before or after piping. Shape the cookies and freeze them on a baking sheet before transferring to a container. They can be baked straight from frozen; just add a couple of minutes to your baking time. This makes baking fresh cookies much more convenient!
Conclusion on Danish Butter Cookies
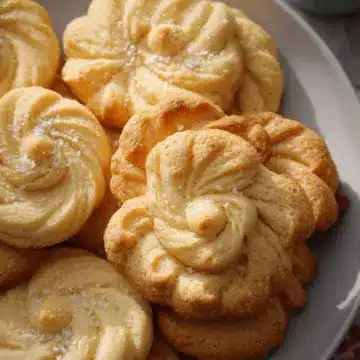
In summary, Danish butter cookies are a delightful treat that blends rich flavors with a melt-in-your-mouth texture, making them a perfect choice for gifting during the holiday season. Experiment with shapes and toppings, and enjoy the warmth and nostalgia these cookies bring to your gatherings. Happy baking!
Danish Butter Cookies (Melt in Your Mouth)
Equipment
- Stand Mixer
- baking sheets
- parchment paper
- piping bag
Ingredients
Butter and Sugar
- 1 cup European salted butter room temperature
- ½ cup granulated sugar
- ⅛ teaspoon salt
Wet Ingredients
- 2 egg yolks
- 2 teaspoons vanilla extract
- 1 tablespoon whole milk or more to soften
Flours
- 2 cups all-purpose flour
- ½ cup cake flour
Decorating
- coarse sugar for decorating
Instructions
Preparation
- Make space in the refrigerator and prep the baking mats. Make room in your refrigerator for a baking sheet so the shaped cookies can chill for 20-30 minutes. Line two baking sheets with parchment paper or silicone baking mats and set aside.
- Cream butter, sugar, and salt. In the bowl of a stand mixer, cream butter on medium speed until smooth. With the mixer running on low, slowly add sugar and salt. Mix on medium speed until light and fluffy.
- Incorporate egg yolks, vanilla, and milk. While mixing, add egg yolks, vanilla, and milk. Continue to mix until well combined.
- Mix dry ingredients and add into mixture. In a medium bowl, whisk the flour and cake flour. Add the flour mixture to the mixer in two additions, and mix on low speed until combined and no traces of flour remain. If too thick, add more milk.
- Pipe the cookies. Transfer cookie batter to a piping bag and pipe cookies on the prepared sheets. Chill in the refrigerator for 20-30 minutes.
- Prepare the oven. Preheat oven to 350°F. Make sure the baking rack is in the middle.
- Bake. Bake for 10-15 minutes or until the edges are lightly golden brown. Let cool on the baking sheet for about 5 minutes before transferring to a wire rack to cool completely.
Leave a Reply