
Introduction to Danish Butter Cookies
Why Danish Butter Cookies Are a Delight
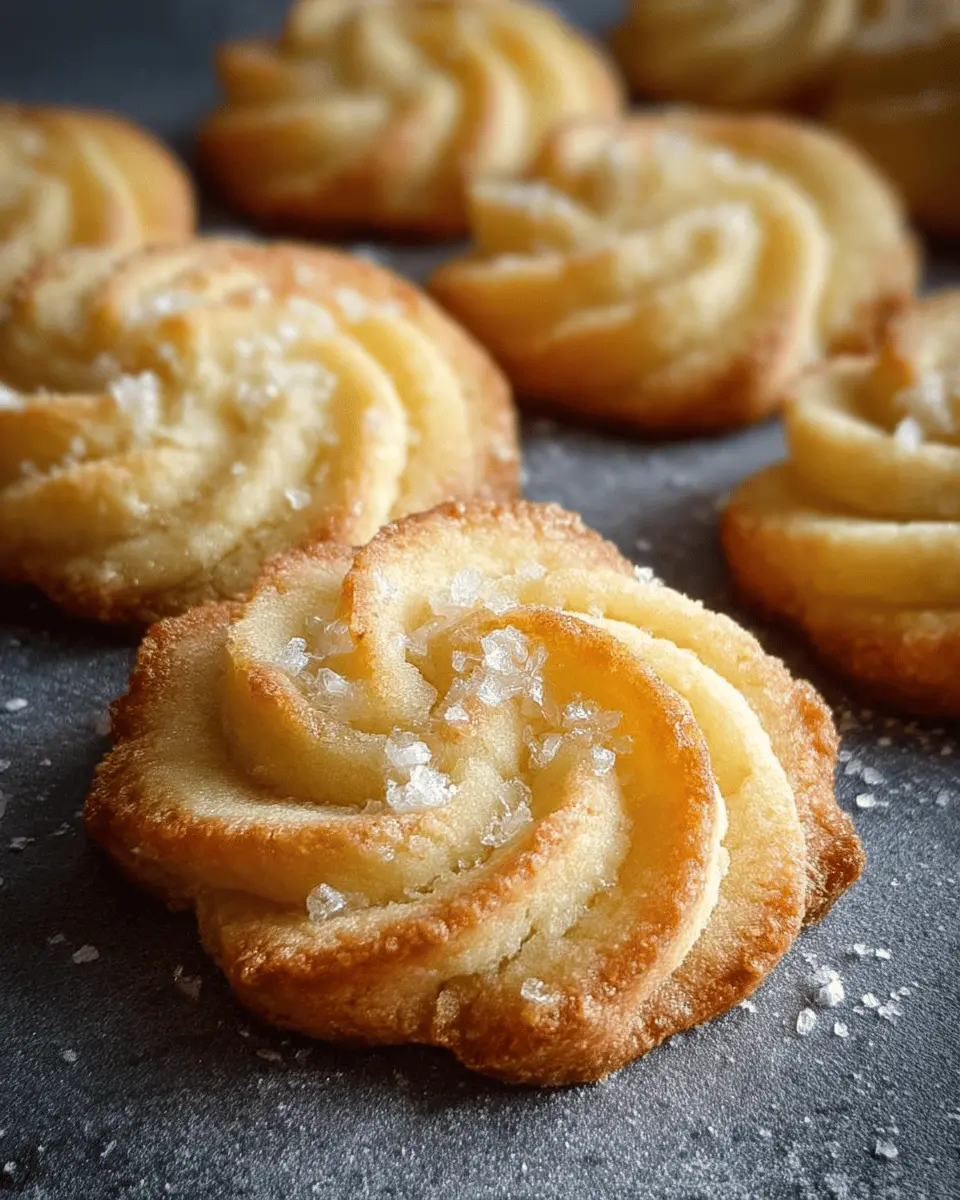
If you haven’t yet experienced the joy of Danish Butter Cookies, you're in for a treat! These cookies are synonymous with comfort and indulgence, often evoking fond memories of cozy gatherings and family traditions. Their light, crisp, and delicate texture is simply irresistible, making them the perfect afternoon snack or delightful dessert.
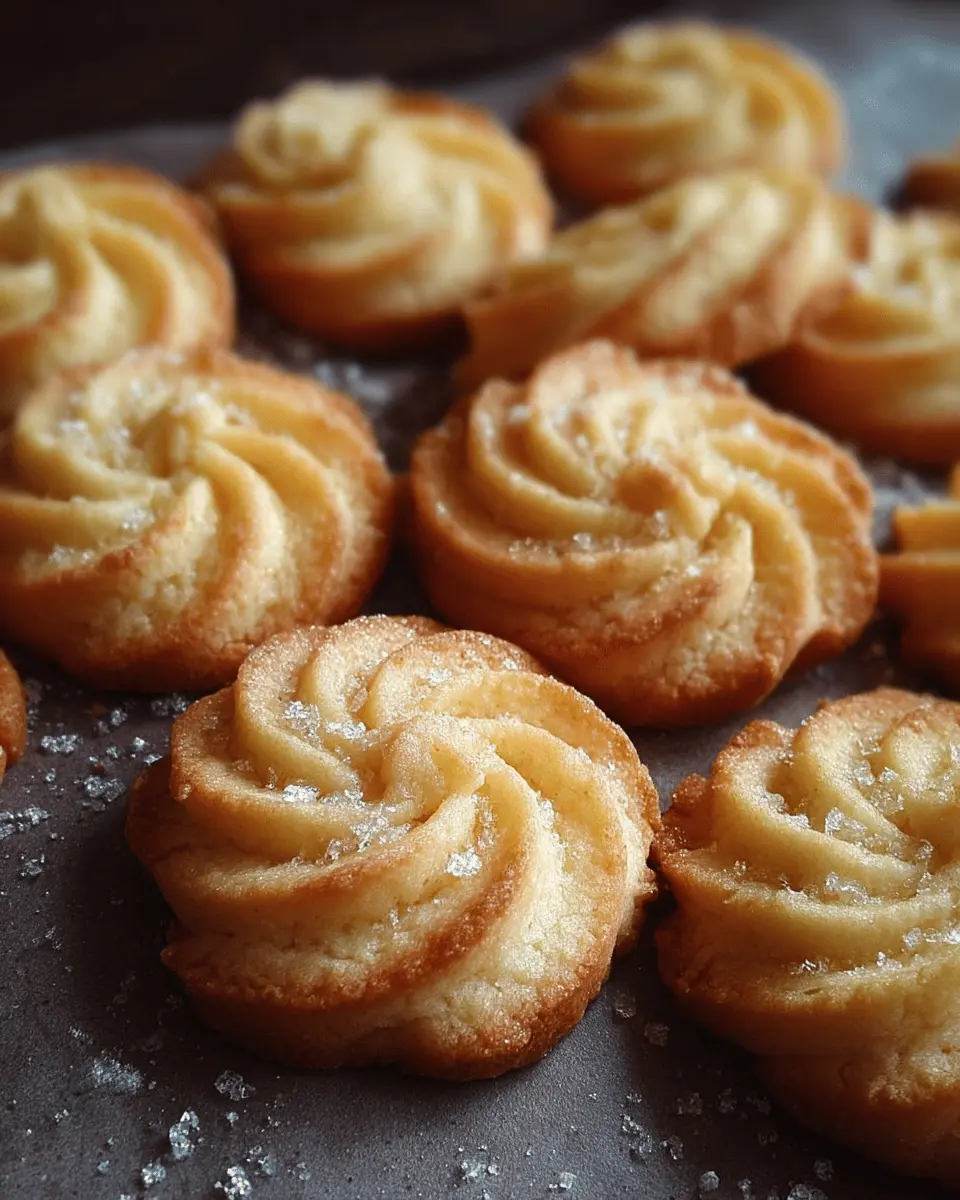
Crafted from just four basic ingredients, these cookies boast an irresistible buttery flavor that truly shines through. The simplicity of the recipe means anyone can whip them up, regardless of baking experience. Plus, the magic of piping the dough into beautiful shapes adds an artistic element that’s satisfying to create.
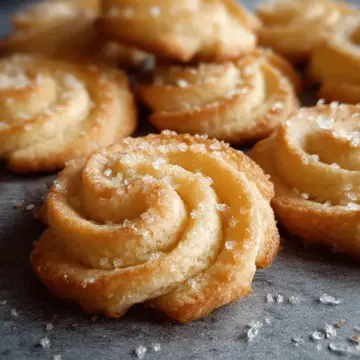
Did you know that these iconic cookies are often associated with the holiday season? However, with their ease of preparation, they can be enjoyed year-round. You might even consider packaging them as thoughtful gifts for friends and family during special occasions. Just imagine biting into a cookie that's both buttery and slightly sweet, melting in your mouth!
For more on the rich history of Danish Butter Cookies and their place in cultural traditions, check out this wonderful article on Danish baking. Dive into the delightful world of Danish Butter Cookies and get ready to impress with this simple recipe!
Ingredients for Danish Butter Cookies
Basic Ingredients for Deliciousness
Creating Danish Butter Cookies is surprisingly simple, requiring just four basic ingredients that you likely have in your kitchen:
- ½ cup of butter at room temperature: This gives the cookies that rich flavor and crisp texture.
- ½ cup of powdered sugar: For sweetness and a tender crumb.
- 1 teaspoon of vanilla extract: This adds a lovely aroma and enhances the overall flavor.
- 1 cup of cake flour (or all-purpose flour): Cake flour produces a softer, melt-in-your-mouth cookie, but all-purpose works too.
With these ingredients, you’re well on your way to baking a batch of Danish Butter Cookies that friends and family will enjoy!
Optional Add-ins for Extra Flavor
While the basic recipe is delightful on its own, don’t shy away from personalizing your cookies! Here are a few optional add-ins to elevate their flavor:
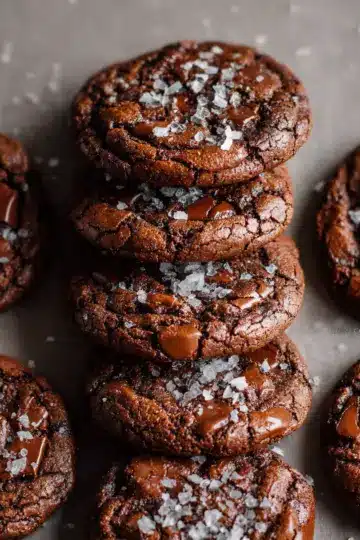
- Chocolate chips for a delightful twist.
- Nuts like almonds or walnuts for a crunchy texture.
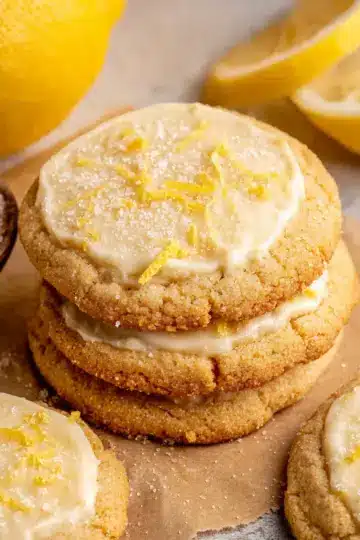
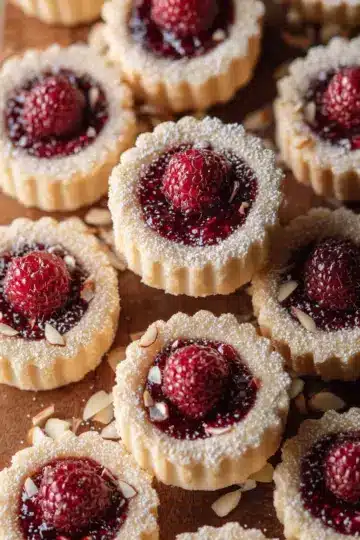
- Citrus zest such as lemon or orange can give a refreshing touch.
Feel free to experiment! Adding these touches gives your Danish Butter Cookies a unique flair, turning a classic treat into something uniquely yours.
Preparing Danish Butter Cookies
Softening the Butter
The journey to making Danish Butter Cookies begins with ensuring your butter is at the perfect temperature. It’s essential to take your butter out of the refrigerator at least an hour before you start. The goal is to have it soft to the touch—think room temperature, not melted. This soft butter is key to getting that lovely, fluffy texture that makes these cookies so heavenly. If you’re short on time, you can microwave it for about 10 seconds, but be cautious to avoid melting it completely.
Creaming Butter, Sugar, and Vanilla
Next up, we’re going to cream the butter, powdered sugar, and vanilla extract together in a mixing bowl. This step is where the magic happens. Using either a handheld or stand mixer, beat the mixture for about 5 to 8 minutes. You want to achieve a light and fluffy texture that’s airy and pale in color. Think of it as creating a cloud for your Danish Butter Cookies! This extended creaming time is crucial because it incorporates air into the dough, leading to lighter cookies.
Incorporating the Flour
Once your butter mixture is fluffy, it’s time to incorporate the flour. Gradually sift in your cake flour (or all-purpose flour if that’s what you have), about ⅓ cup at a time, gently folding it into the creamed mixture with a spatula. This method helps maintain that fluffy texture while ensuring the flour is well-combined. Remember, gentle is key here to preserve the volume you’ve created!
Piping the Dough
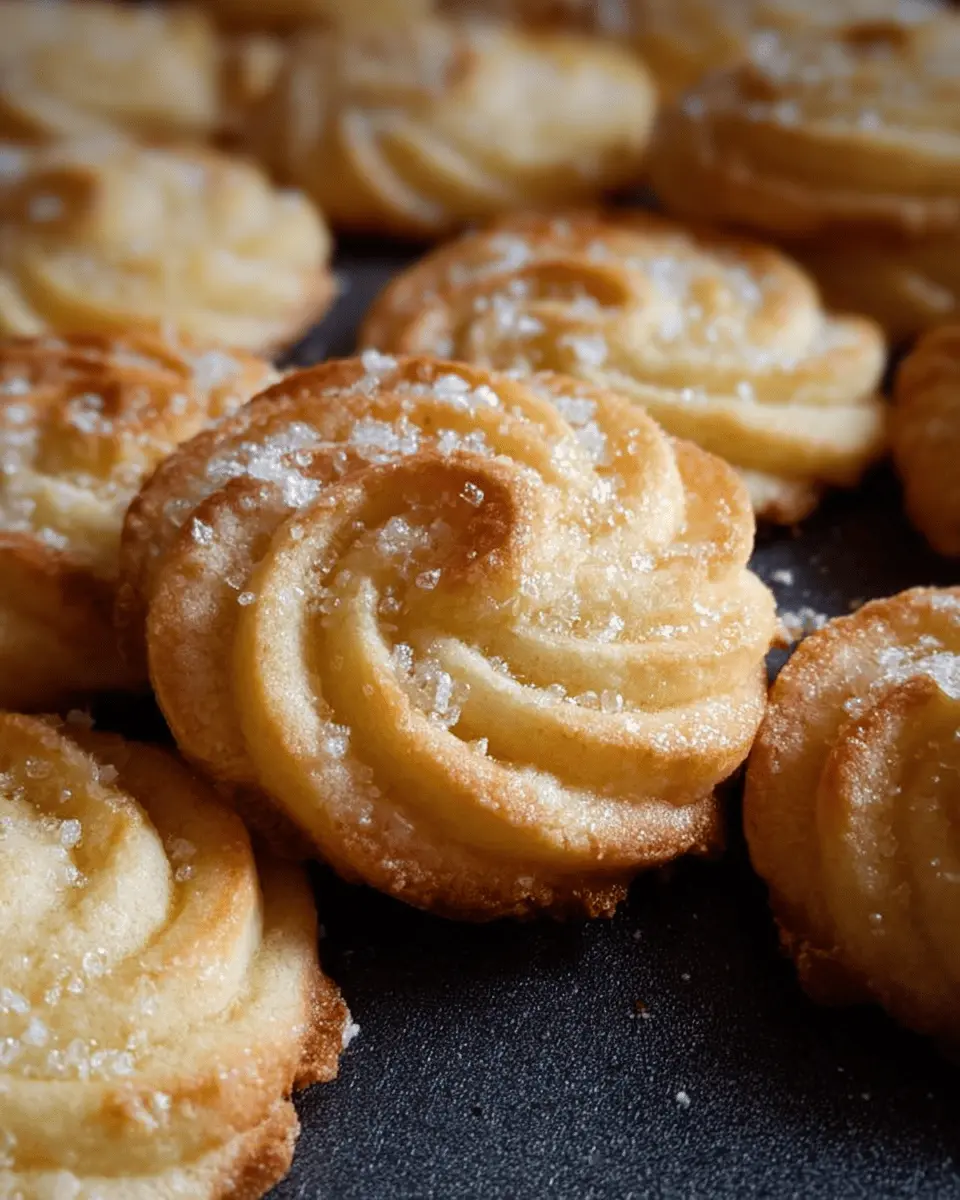
Now that your dough is ready, let’s get it into shape! Transfer it onto a sheet of plastic wrap, forming a log, and cut a small hole in one end. Put this into a piping bag fitted with a flower-tipped nozzle. Piping the dough creates those beautiful shapes we all love in Danish Butter Cookies. If you find the dough is a bit stiff, add a tablespoon of warm milk to help soften it.
Chilling the Cookies
Before baking, chilling is a vital step that helps solidify the piped cookies. Place the baking sheet in the refrigerator for about 30 minutes. This will firm up the dough, preventing it from spreading too much while baking and ensuring you retain those lovely piped shapes. After chilling, you can sprinkle sugar on top for added sweetness, although they are just as delightful plain!
Baking to Perfection
Finally, it’s time to bake! Preheat your oven to 300°F (150°C). Bake your cookies for around 15 minutes or until the edges are just beginning to turn golden. Allow them to cool on the baking sheet for about 10 minutes before transferring them to an airtight container. And there you have it—deliciously buttery, melt-in-your-mouth Danish Butter Cookies, perfect for sharing or indulging yourself!
For a deeper dive into cookie techniques, check out trusted resources like The Spruce Eats and Serious Eats. Happy baking!
Variations on Danish Butter Cookies
Chocolate-Dipped Danish Butter Cookies
Elevate your Danish Butter Cookies experience with a delightful chocolate dip! After baking, melt some high-quality chocolate and dip half of each cookie into it. Allow them to set on parchment paper for a luxurious finish. Not only does this add a rich flavor twist, but it also creates a beautiful presentation, perfect for special occasions or gift giving.
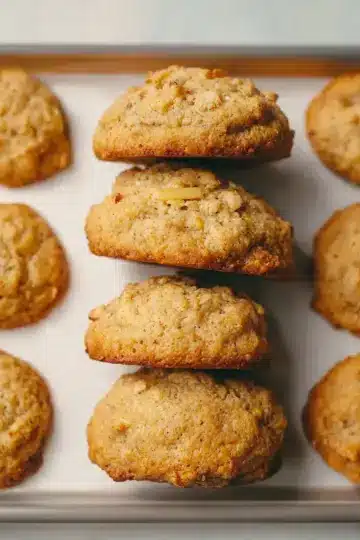
Nutty Danish Butter Cookies
For those who crave a bit of crunch, try adding chopped nuts, such as almonds or pecans, to the dough before piping. This variation amplifies the delightful texture and flavor profile of your Danish Butter Cookies. Nut oils can enhance the taste, making every bite a scrumptious experience. If you're feeling adventurous, consider mixing in some toasted coconut or even sprinkles for a fun touch!
By exploring these variations, you can keep your cookie jar exciting and your guests impressed!
Baking Tips and Notes for Danish Butter Cookies
Ensuring Perfect Texture
To achieve the best Danish Butter Cookies, make sure your butter is at room temperature — it should feel soft but not melted. Cream the butter and sugar for 5 to 8 minutes until fluffy and light in color. This crucial step incorporates air into the dough, lending the cookies a delicate melt-in-your-mouth texture. If you're curious about the science behind baking, check out King Arthur Baking for helpful insights.
Piping Tips for Beautiful Shapes
When piping your cookies, use a 1M open star tip for those classic shapes that are as beautiful as they are delicious. Don't overfill your piping bag; dividing the dough into smaller portions makes control much easier. If the dough feels tough to pipe, add a tablespoon of warm milk to get a smoother consistency. Also, chilling the piped cookies before baking helps them retain their shape, ensuring your Danish Butter Cookies turn out perfectly every time!
Serving Suggestions for Danish Butter Cookies
Pairing with Beverages
When enjoying your Danish Butter Cookies, consider pairing them with a delightful selection of beverages. A warm cup of freshly brewed coffee complements the cookies’ buttery richness beautifully, enhancing each bite. Alternatively, opt for a fragrant herbal tea, such as chamomile or mint, which provides a refreshing contrast. If you’re in the mood for something sweeter, a glass of chilled milk can be the perfect match!
Creative Packaging for Gift Giving
These Danish Butter Cookies make for a charming, homemade gift. Consider using clear cellophane bags tied with colorful ribbons for a rustic look. You can also place them in decorative tins or boxes, adding a personal touch with a handwritten note. For an eco-friendly option, wrap them in parchment paper and secure with jute twine. Not only do these presentation ideas elevate your gift, but they also show your loved ones just how special they are!
For more inspiration on gift wrapping and packaging, check out sites like Martha Stewart or Good Housekeeping.
Time Breakdown for Danish Butter Cookies
Preparation Time
To kick things off, you'll need about 15 minutes to prepare your ingredients and cream that perfectly soft butter with sugar and vanilla. Make sure your kitchen is cozy and inviting while you whip up this delightful dough.
Baking Time
Once your cookies are piped and ready to go, they’ll bake for about 13 minutes at a low temperature of 300°F (150°C). Keep an eye on them as they turn that delightful golden hue!
Total Time
In total, you're looking at just 58 minutes from start to finish, including a 30-minute refrigeration period. This is a quick yet satisfying experience that allows you to indulge in Danish butter cookies right from your own kitchen. Grab a cup of tea and enjoy!
For helpful tips on getting your butter just right, check out this guide.
Nutritional Facts for Danish Butter Cookies
Calories per Cookie
Each Danish Butter Cookie contains approximately 47 calories, making it a delightful treat without too much guilt. Perfect for an afternoon pick-me-up or a sweet ending to your day!
Key Nutritional Elements
These charming cookies pack more than just flavor! Here's a quick breakdown:
- Carbohydrates: 9g
- Fat: 1g
- Saturated Fat: 1g
- Cholesterol: 1mg
- Sodium: 9mg
- Sugar: 3g
- Calcium: 11mg
While they may be light, those buttery textures come with a subtle sweetness that can brighten your day. For more in-depth nutritional advice, consider visiting Nutrition.gov. As with any treat, moderation is key, but these cookies certainly make it easy to indulge just a little!
FAQs about Danish Butter Cookies
Can I substitute ingredients in this recipe?
Absolutely! If you're out of cake flour, all-purpose flour works just fine. The texture may be slightly different, but you'll still get that delightful cookie experience. You can also swap the vanilla extract for almond extract for a unique twist. Just remember, small changes can create big flavors!
How should I store Danish Butter Cookies?
To keep your Danish Butter Cookies fresh and delicious, store them in an airtight container at room temperature. They should stay tasty for about one week. If you're making a larger batch and want to keep them longer, consider freezing them! Just place a layer of parchment paper between the cookies and store them in a freezer-safe container.
Why are my cookies spreading too much?
Cookie spread can be frustrating! If your Danish Butter Cookies are spreading too much, check a couple of things: ensure butter is at the right consistency—not melted, just soft. Also, using a baking sheet lined with parchment or a silicone mat can help the cookies hold their shape during baking. If your dough is too warm before baking, chilling it in the fridge again for a bit can work wonders!
Conclusion on Danish Butter Cookies
The Joy of Homemade Danish Butter Cookies
Indulging in homemade Danish Butter Cookies is a delightful experience that elevates any occasion. With just four simple ingredients, these light and crisp cookies are not only easy to make but also provide a sense of accomplishment. So, roll up your sleeves, gather your loved ones, and enjoy these melt-in-your-mouth treats together. They are perfect for gifting or simply savoring during cozy evenings at home. Looking for inspiration? Check out recipes on baking blogs like Sally's Baking Addiction that build on classic techniques!
Danish Butter Cookies
Equipment
- handheld or stand mixer
- piping bag
- Baking sheet
- silicone mat or parchment paper
Ingredients
- 0.5 cup butter at room temperature
- 0.5 cup powdered sugar
- 1 teaspoon vanilla extract
- 1 cup cake flour or all-purpose flour See note 1
Instructions
- Get the butter out of the refrigerator at least an hour before baking. It should be soft to the touch, but not melted.
- Cream the butter, sugar and vanilla extract with a handheld or stand mixer for 5 to 8 minutes. The creamed butter and sugar should be light in color and fluffy in texture.
- Use a spatula to scrape the dough of the side of the bowl. Sift the flour, ⅓ cup (40g) at a time, folding it gently into the creamed butter mixture, until all the flour is used.
- Transfer the dough to a sheet of plastic wrap and roll it to form a log. Cut a hole in one end of the plastic wrap and place it into a piping bag fitted with a flower tipped nozzle.
- Pipe the dough using a 1M open star piping tip onto a baking sheet lined with a silicone mat or with parchment/baking paper.
- If the dough is too stiff or hard to pipe, add a tablespoon of warm milk to make it softer.
- Place the baking sheet into the refrigerator for 30 minutes to firm up the piped cookies.
- Sprinkle granulated sugar over the cookies before baking if preferred or leave plain.
- Bake in a preheated oven of 300°F/150°C for 15 minutes or until the edges begin to turn a golden color.
- Remove from the oven and leave the cookies on the baking sheet to cool for 10 minutes before serving or store in an airtight container.
Leave a Reply