
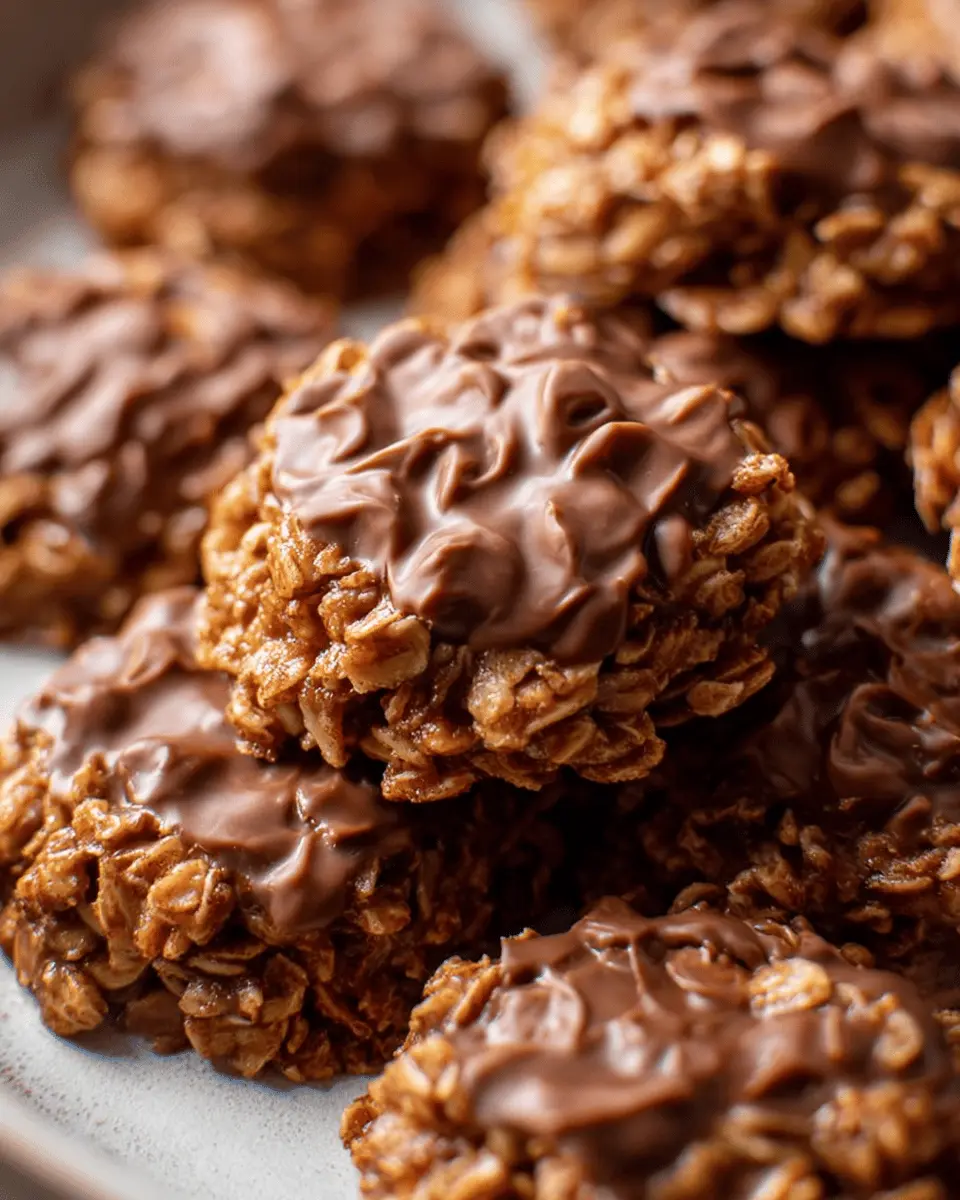
Introduction to Classic No-Bake Cookies
When life gets busy, the last thing you need is a complicated dessert recipe, right? This is where classic no-bake cookies shine. Perfectly suited for young professionals, these delightful treats require minimal time and kitchen fuss, making them a go-to solution for quick cravings.
Why No-Bake Cookies Are Perfect for Young Professionals
As a young professional, you juggle work, social commitments, and maybe even a side gig, leaving little time for elaborate baking sessions. This is precisely why classic no-bake cookies are a lifesaver!
- Quick and Simple: With just a few fundamental ingredients like peanut butter, oats, and cocoa powder, you can whip up delicious cookies in under 45 minutes.
- No Oven Required: Say goodbye to preheating your oven! These cookies are made on the stovetop, which means less energy consumption and no risk of burning.
- Easily Customizable: Feel free to experiment! You can add ingredients like shredded coconut or even swap out peanut butter for almond butter to suit your preferences.
Plus, according to the American Institute for Cancer Research, snacking on homemade goodies like these can be a healthier choice compared to store-bought options loaded with preservatives. So grab your ingredients, and let's dive into the tasty world of classic no-bake cookies!
Ingredients for Classic No-Bake Cookies
The Essential Ingredients You Need
To whip up a batch of delightful classic no-bake cookies, gather these essential ingredients:
- Butter: ½ cup (115 grams) sliced into pieces for that rich flavor.
- Granulated Sugar: 2 cups (400 grams) adds sweetness that perfectly complements the cocoa.
- Milk: ½ cup (120 ml) contributes to the cookies' smooth texture; whole milk is suggested, but feel free to use alternatives if you prefer.
- Cocoa Powder: ¼ cup (20 grams) brings the chocolate love!
- Creamy Peanut Butter: ½ cup (125 grams) provides both flavor and stickiness to hold the cookies together.
- Vanilla Extract: 1 teaspoon enhances the overall taste.
- Quick-Cooking Oats: 3 cups (300 grams) are the base of your cookies, so opt for these to achieve the perfect consistency.
For more detailed nutritional insights, check out resources like the USDA FoodData Central.
Optional Add-Ins for Customization
Want to switch things up? Here are some fantastic options:
- Chopped Nuts: Walnuts or pecans can add a delightful crunch.
- Chocolate Chips: Fold in ½ cup for extra chocolaty richness.
- Shredded Coconut: A ½ cup can give you a tropical twist.
- Dried Fruits: Consider adding raisins or cranberries for a chewy texture and extra flavor.
These optional ingredients allow you to personalize your classic no-bake cookies to your taste. So, what will you add?
Step-by-Step Preparation of Classic No-Bake Cookies
Making classic no-bake cookies is not just easy—it's a fun activity that sparks creativity in the kitchen. Whether you’re a seasoned baker or a novice, this step-by-step guide will help you whip up these delicious treats in no time!
Gather and Measure Ingredients
Before diving into cooking, it’s essential to get organized. Here’s what you need to do:
- Ingredients: Gather the following ingredients for your classic no-bake cookies:
- ½ cup (115 grams) butter, sliced into pieces
- 2 cups (400 grams) granulated sugar
- ½ cup (120 ml) milk
- ¼ cup (20 grams) unsweetened cocoa powder
- ½ cup (125 grams) creamy peanut butter
- 1 teaspoon pure vanilla extract
- 3 cups (300 grams) quick-cooking oats
- Equipment: You’ll also need two large baking sheets lined with parchment paper to catch the gooey goodness!
Pro tip: Make sure to pre-measure your ingredients to streamline the process. This method prevents missteps and maximizes efficiency.
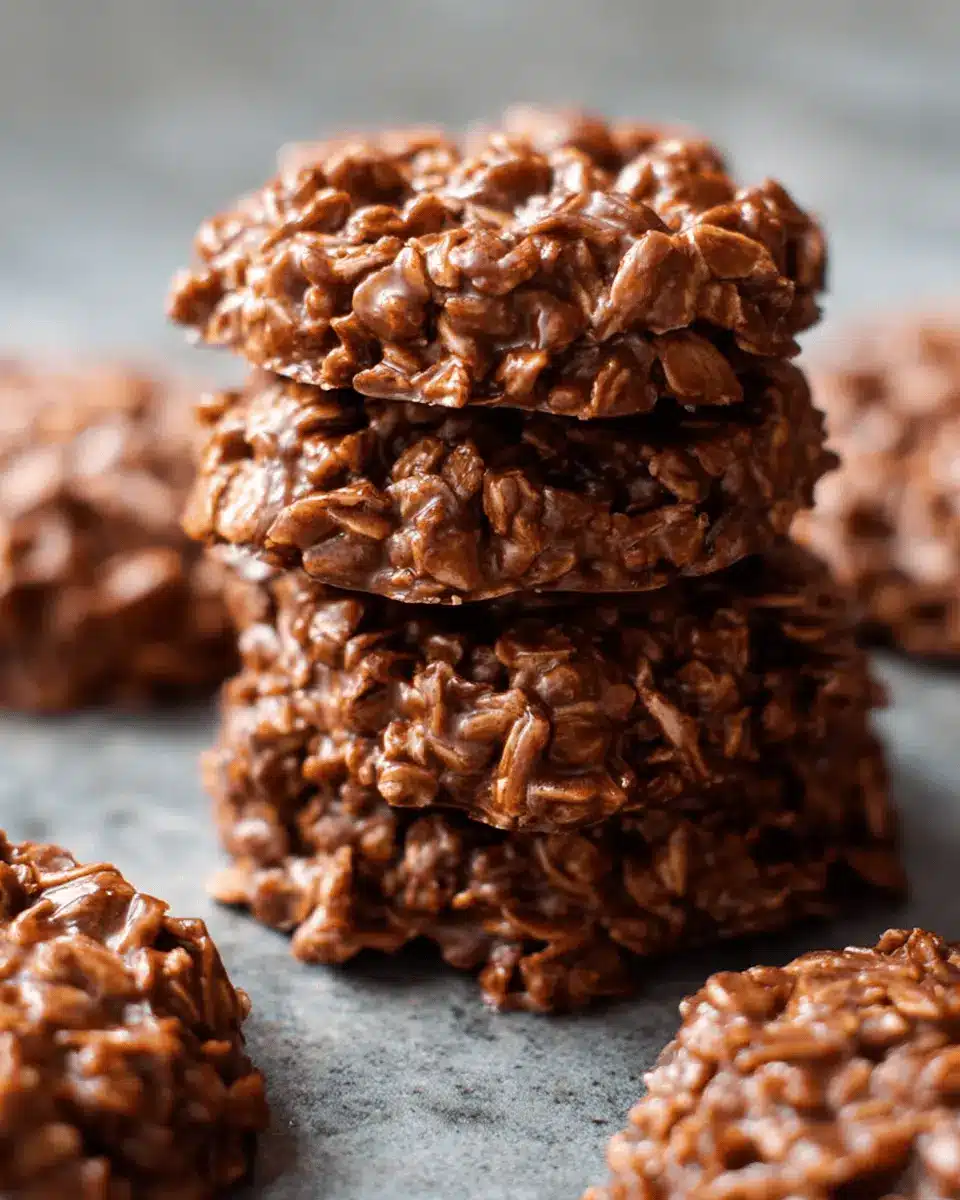
Combine and Cook the Base Mixture
Now that everything is ready, it’s time to make the cookie base:
- In a large saucepan, combine the butter, sugar, milk, and unsweetened cocoa powder.
- Heat the mixture over medium heat, stirring often until the butter melts and everything is well integrated.
- Bring it to a rolling boil and set a timer for 60 seconds—this is crucial! Stir occasionally but keep an eye on it to avoid burning.
This part is where the magic begins. As the mixture bubbles, you’ll start to smell that rich chocolate aroma wafting through your kitchen.
Incorporate Peanut Butter and Oats
Once the mixture has boiled for a full minute, it’s time to add the flavor!
- Remove the saucepan from the heat. Stir in the creamy peanut butter and vanilla extract, blending thoroughly until it’s a delightful, smooth concoction.
- Next, add in the quick-cooking oats, and mix until all the oats are coated with the chocolaty goodness.
This step not only improves the flavor but also creates that chewy texture we all love in classic no-bake cookies.
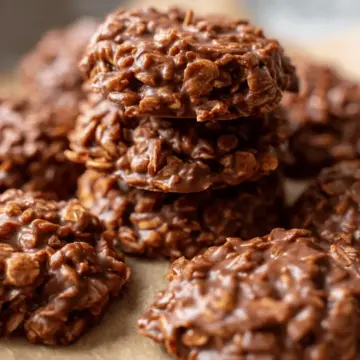
Drop Spoonfuls onto Baking Sheets
Now comes the fun part—shaping your cookies!
- Using a spoon or a cookie scoop (around 1.5 tablespoons is ideal), drop spoonfuls of the mixture onto your prepared baking sheets.
- Leave some space between each spoonful since they will spread a bit as they cool.
Feel free to get creative! You could even sprinkle some sea salt or crushed nuts on top for a personalized touch.
Allow to Cool and Set
Patience is key in this final step:
- Allow your classic no-bake cookies to cool for about 20 to 30 minutes until they’re set.
- Once cooled, you can enjoy them right away or store them in an airtight container.
These cookies are not only a delightful treat but also bring back memories of childhood for many. Share them with friends or keep them all to yourself—no judgment here!
For more baking inspiration, check out resources from Food Network or insightful tips from Bon Appétit to expand your culinary skills further. Happy baking!
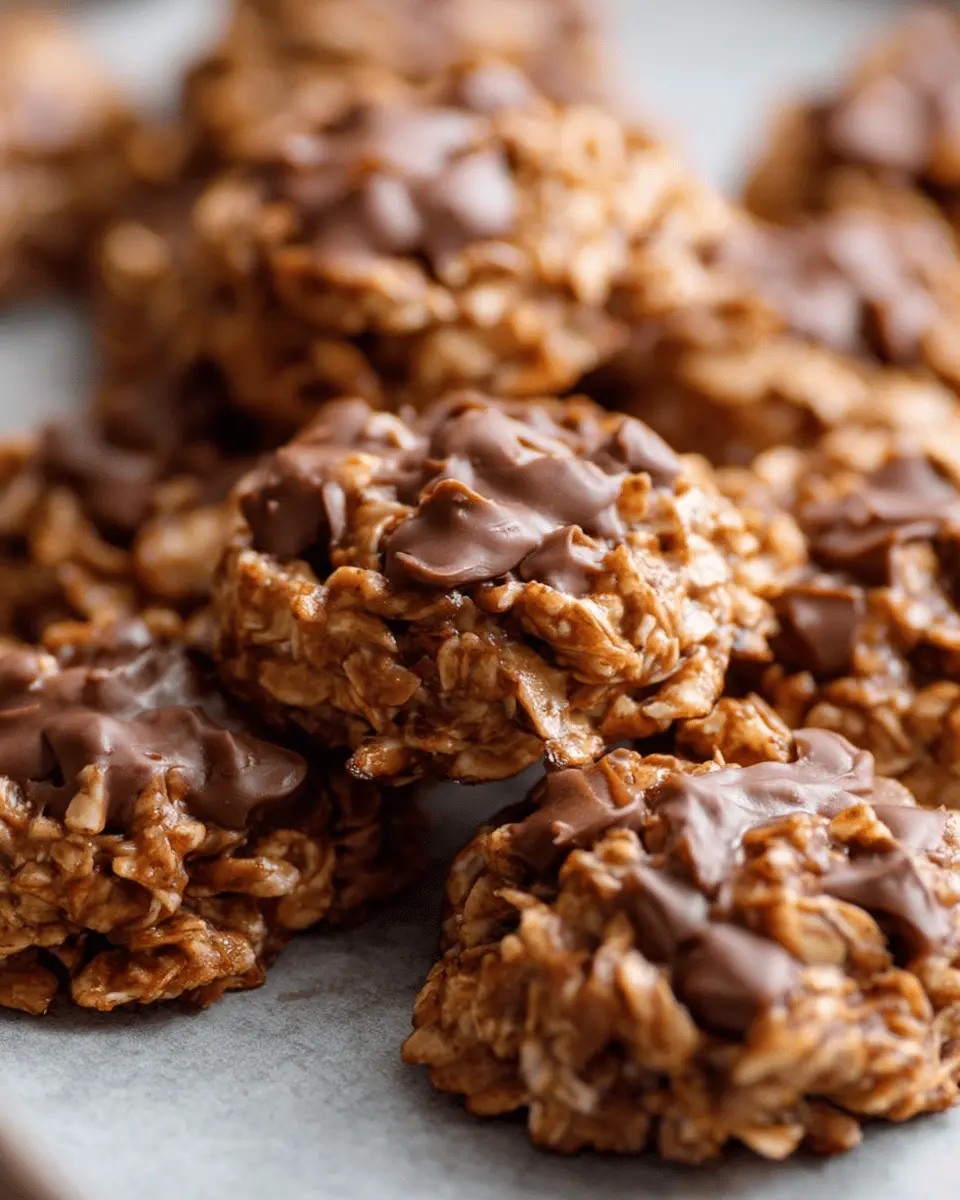
Variations on Classic No-Bake Cookies
Exploring variations on classic no-bake cookies allows you to indulge your taste buds while keeping the preparation just as easy! Here are a couple of delightful options to consider:
Chocolate Chip No-Bake Cookies
For a fun twist, simply mix in some semi-sweet chocolate chips into your classic no-bake cookie batter. After adding the oats, fold in about a cup of chocolate chips for added sweetness and texture. These cookies bring that cookie dough vibe with every bite, satisfying your sweet cravings in a jiffy.
Coconut Almond No-Bake Cookies
If you're a fan of coconut, this variation is for you! Substitute half of the peanut butter with almond butter and add a cup of unsweetened shredded coconut to the mix. The nutty, tropical flavor combined with the chewy oats creates a delicious, guilt-free treat—perfect for a midday snack or a quick dessert.
Experimenting with these variations can breathe new life into your classic no-bake cookies! What’s your favorite spin on this quick and easy treat?
Cooking Tips and Notes for Classic No-Bake Cookies
Ensuring the Right Consistency
Achieving the perfect texture is key for classic no-bake cookies. When you bring the mixture to a rolling boil, set a timer for exactly 60 seconds. This step is crucial, as it ensures the ingredients meld together beautifully. If your cookies are too runny, they might not set properly. If they're too dry, they risk being crumbly. A good rule of thumb is to aim for a thick, fudgy consistency when mixing in the oats.
Adjusting Sweetness Levels
Sweetness can effortlessly be tailored to your taste. If you prefer a less sweet cookie, consider reducing the sugar to 1 ½ cups instead of 2 cups. For chocolate lovers, adding an extra tablespoon of cocoa powder can enhance the chocolate flavor without overwhelming sweetness. Remember, taste-testing a spoonful of the mixture before it sets is a great way to check if it meets your sweet tooth’s standard!
Serving Suggestions for Classic No-Bake Cookies
Pairing with Milk or Alternative Beverages
Nothing complements classic no-bake cookies quite like a cold glass of milk. Whether you prefer whole milk, almond milk, or oat milk, the creamy texture perfectly balances the rich chocolate and peanut butter flavors. For a fun twist, try a chilled chai latte or a refreshing iced coffee to elevate your snack time. These beverages not only heighten the flavors but also provide a delightful contrast to the sweet, chewy cookie.
Creative Ways to Present Cookies
Making your classic no-bake cookies a visual treat can enhance your serving experience! Consider stacking cookies in a glass jar for a rustic look or placing them on a cake stand for an eye-catching centerpiece. Pair them with fresh fruit or a scoop of vanilla ice cream to create an inviting dessert plate. Personal touches, like adding a festive ribbon around the jar, can make these cookies perfect for gifting or sharing at gatherings. For more ideas on creative presentations, check out this article on food styling, where expert chefs share their tips.
Time Breakdown for Classic No-Bake Cookies
Crafting these delicious classic no-bake cookies is all about timing! Here’s a handy breakdown to help you ace the process.
Preparation Time
Getting your ingredients and equipment ready will take about 20 minutes. This step includes measuring out everything you’ll need and lining your baking sheets.
Cooking Time
The actual cooking is quick and efficient—only 5 minutes! You’ll combine your ingredients over medium heat until perfectly heated and mixed.
Cooling Time
Patience pays off! Allow the cookies to cool for about 20 minutes before indulging. This helps them set properly for the best texture.
With just 45 minutes total, you can whip up a batch of these tasty treats for yourself or friends! Want more tips? Check out this resource on cookie baking tips.
Nutritional Facts for Classic No-Bake Cookies
Calories per Cookie
Each cookie packs around 100 calories, making them a delightful treat without going overboard. Perfect for a quick indulgence during your busy day!
Protein and Sugar Content
These classic no-bake cookies contain approximately 3 grams of protein and 8 grams of sugar per cookie. While they satisfy your sweet tooth, the combination of oats and peanut butter provides a nice, heartfelt boost of energy, too.
Storage Recommendations
To keep your cookies fresh, store them in an airtight container at room temperature for up to a week. If you want to enjoy them later, freeze them in a freezer bag for up to three months. Thaw at room temperature before savoring!
For more detailed nutritional insights and tips on healthier treats, check out NutritionData and MyFitnessPal.
FAQ about Classic No-Bake Cookies
Can I Replace Peanut Butter with Other Nut Butters?
Absolutely! While peanut butter adds a delicious flavor to classic no-bake cookies, feel free to experiment with other nut butters like almond, cashew, or even sunflower seed butter for a nut-free option. Keep in mind that the texture and taste may vary slightly depending on the nut butter you choose.
How Long Do These Cookies Last?
These tasty treats can last up to a week when stored in an airtight container at room temperature. For optimal freshness, keep them away from direct sunlight and heat, which can cause them to soften or become sticky.
Can I Freeze No-Bake Cookies?
Yes, you can freeze classic no-bake cookies! Once they’re completely cooled, store them in a freezer bag or container for up to three months. Simply let them thaw at room temperature before indulging in their chocolaty goodness again. For more tips on freezing cookies, check out resources from experts like King Arthur Baking.
Feel free to reach out if you have more questions, and happy baking!
Conclusion on Classic No-Bake Cookies
Final Thoughts on Enjoying Homemade Cookies
Feeling inspired to whip up some classic no-bake cookies? These treats are not just quick to make but are also a delightful addition to any dessert spread. Share them with friends or keep them on hand for a sweet snack when inspiration strikes. Your taste buds will thank you!
Classic No-Bake Cookies: Easy, Indulgent Treats for Everyone
Equipment
- large saucepan
- cookie scoop
- baking sheets
- parchment paper
Ingredients
- ½ cup butter sliced into pieces
- 2 cups granulated sugar
- ½ cup milk
- ¼ cup unsweetened cocoa powder
- ½ cup creamy peanut butter
- 1 teaspoon pure vanilla extract
- 3 cups quick-cooking oats
Instructions
- Before getting started, make sure to gather all of your ingredients and measure everything out. Line two large baking sheets with parchment paper and set aside.
- Combine the butter, sugar, milk, and unsweetened cocoa powder in a large saucepan and heat over medium heat, making sure to stir often until the butter is melted and everything is well combined. Bring the mixture to a rolling boil and allow to boil for 60 seconds, stirring occasionally.
- Remove from the heat, and stir in the peanut butter and vanilla extract until fully combined. Stir in the oats and mix until all of the oats are coated with the mixture and everything is well combined.
- Drop spoonfuls of the mixture onto the prepared baking sheets. Allow to cool for 20 to 30 minutes, serve, and enjoy!
Leave a Reply